Upgrading or upcycling an older kitchen doesn’t have to involve a major renovation. With a bit of creativity and thought, small changes can make a big difference.
We gave our 1986 kitchen a makeover, made it more modern, and best of all: it didn’t break the bank.
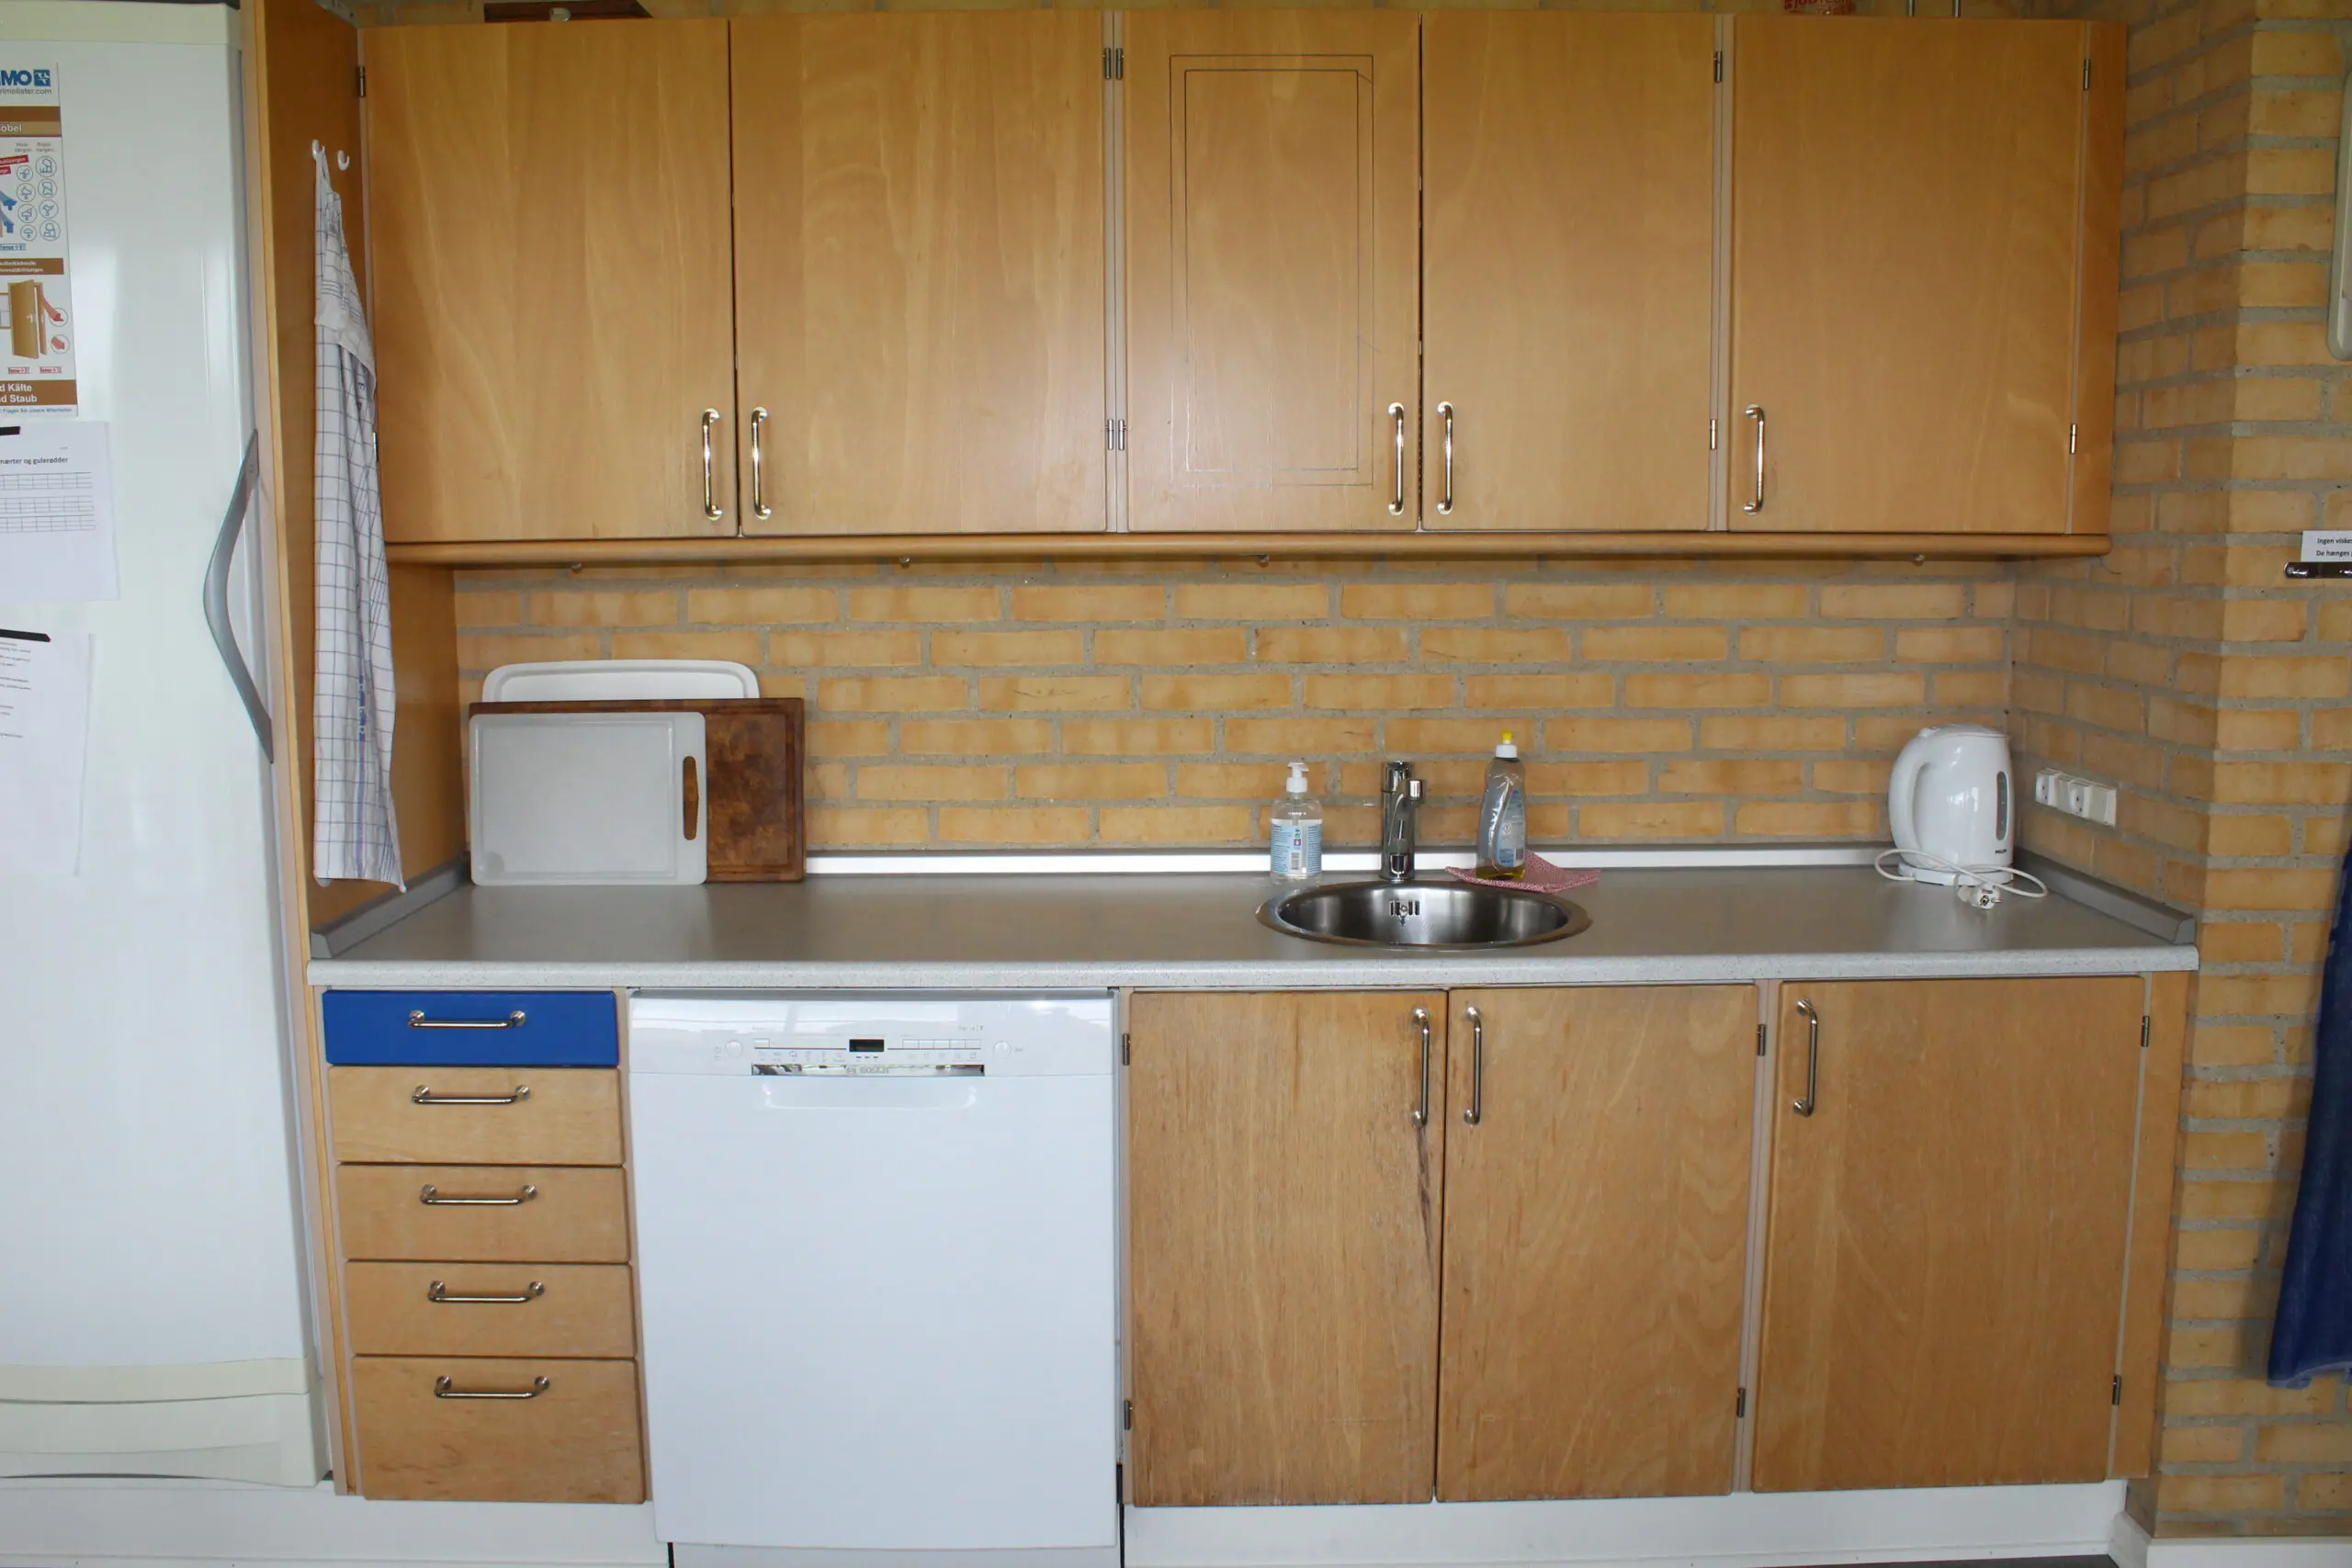
35–40 years ago, our kitchen was state of the art. It featured neutral colours and wooden surfaces, which were extremely popular at the time.
Although the kitchen still worked perfectly, it had become a little worn – which is to be expected after almost 40 years of use. Instead of tearing it all down and starting from scratch, we opted for a creative solution: wrapping the kitchen doors and fitting tall panels using PRIMO wall mouldings.
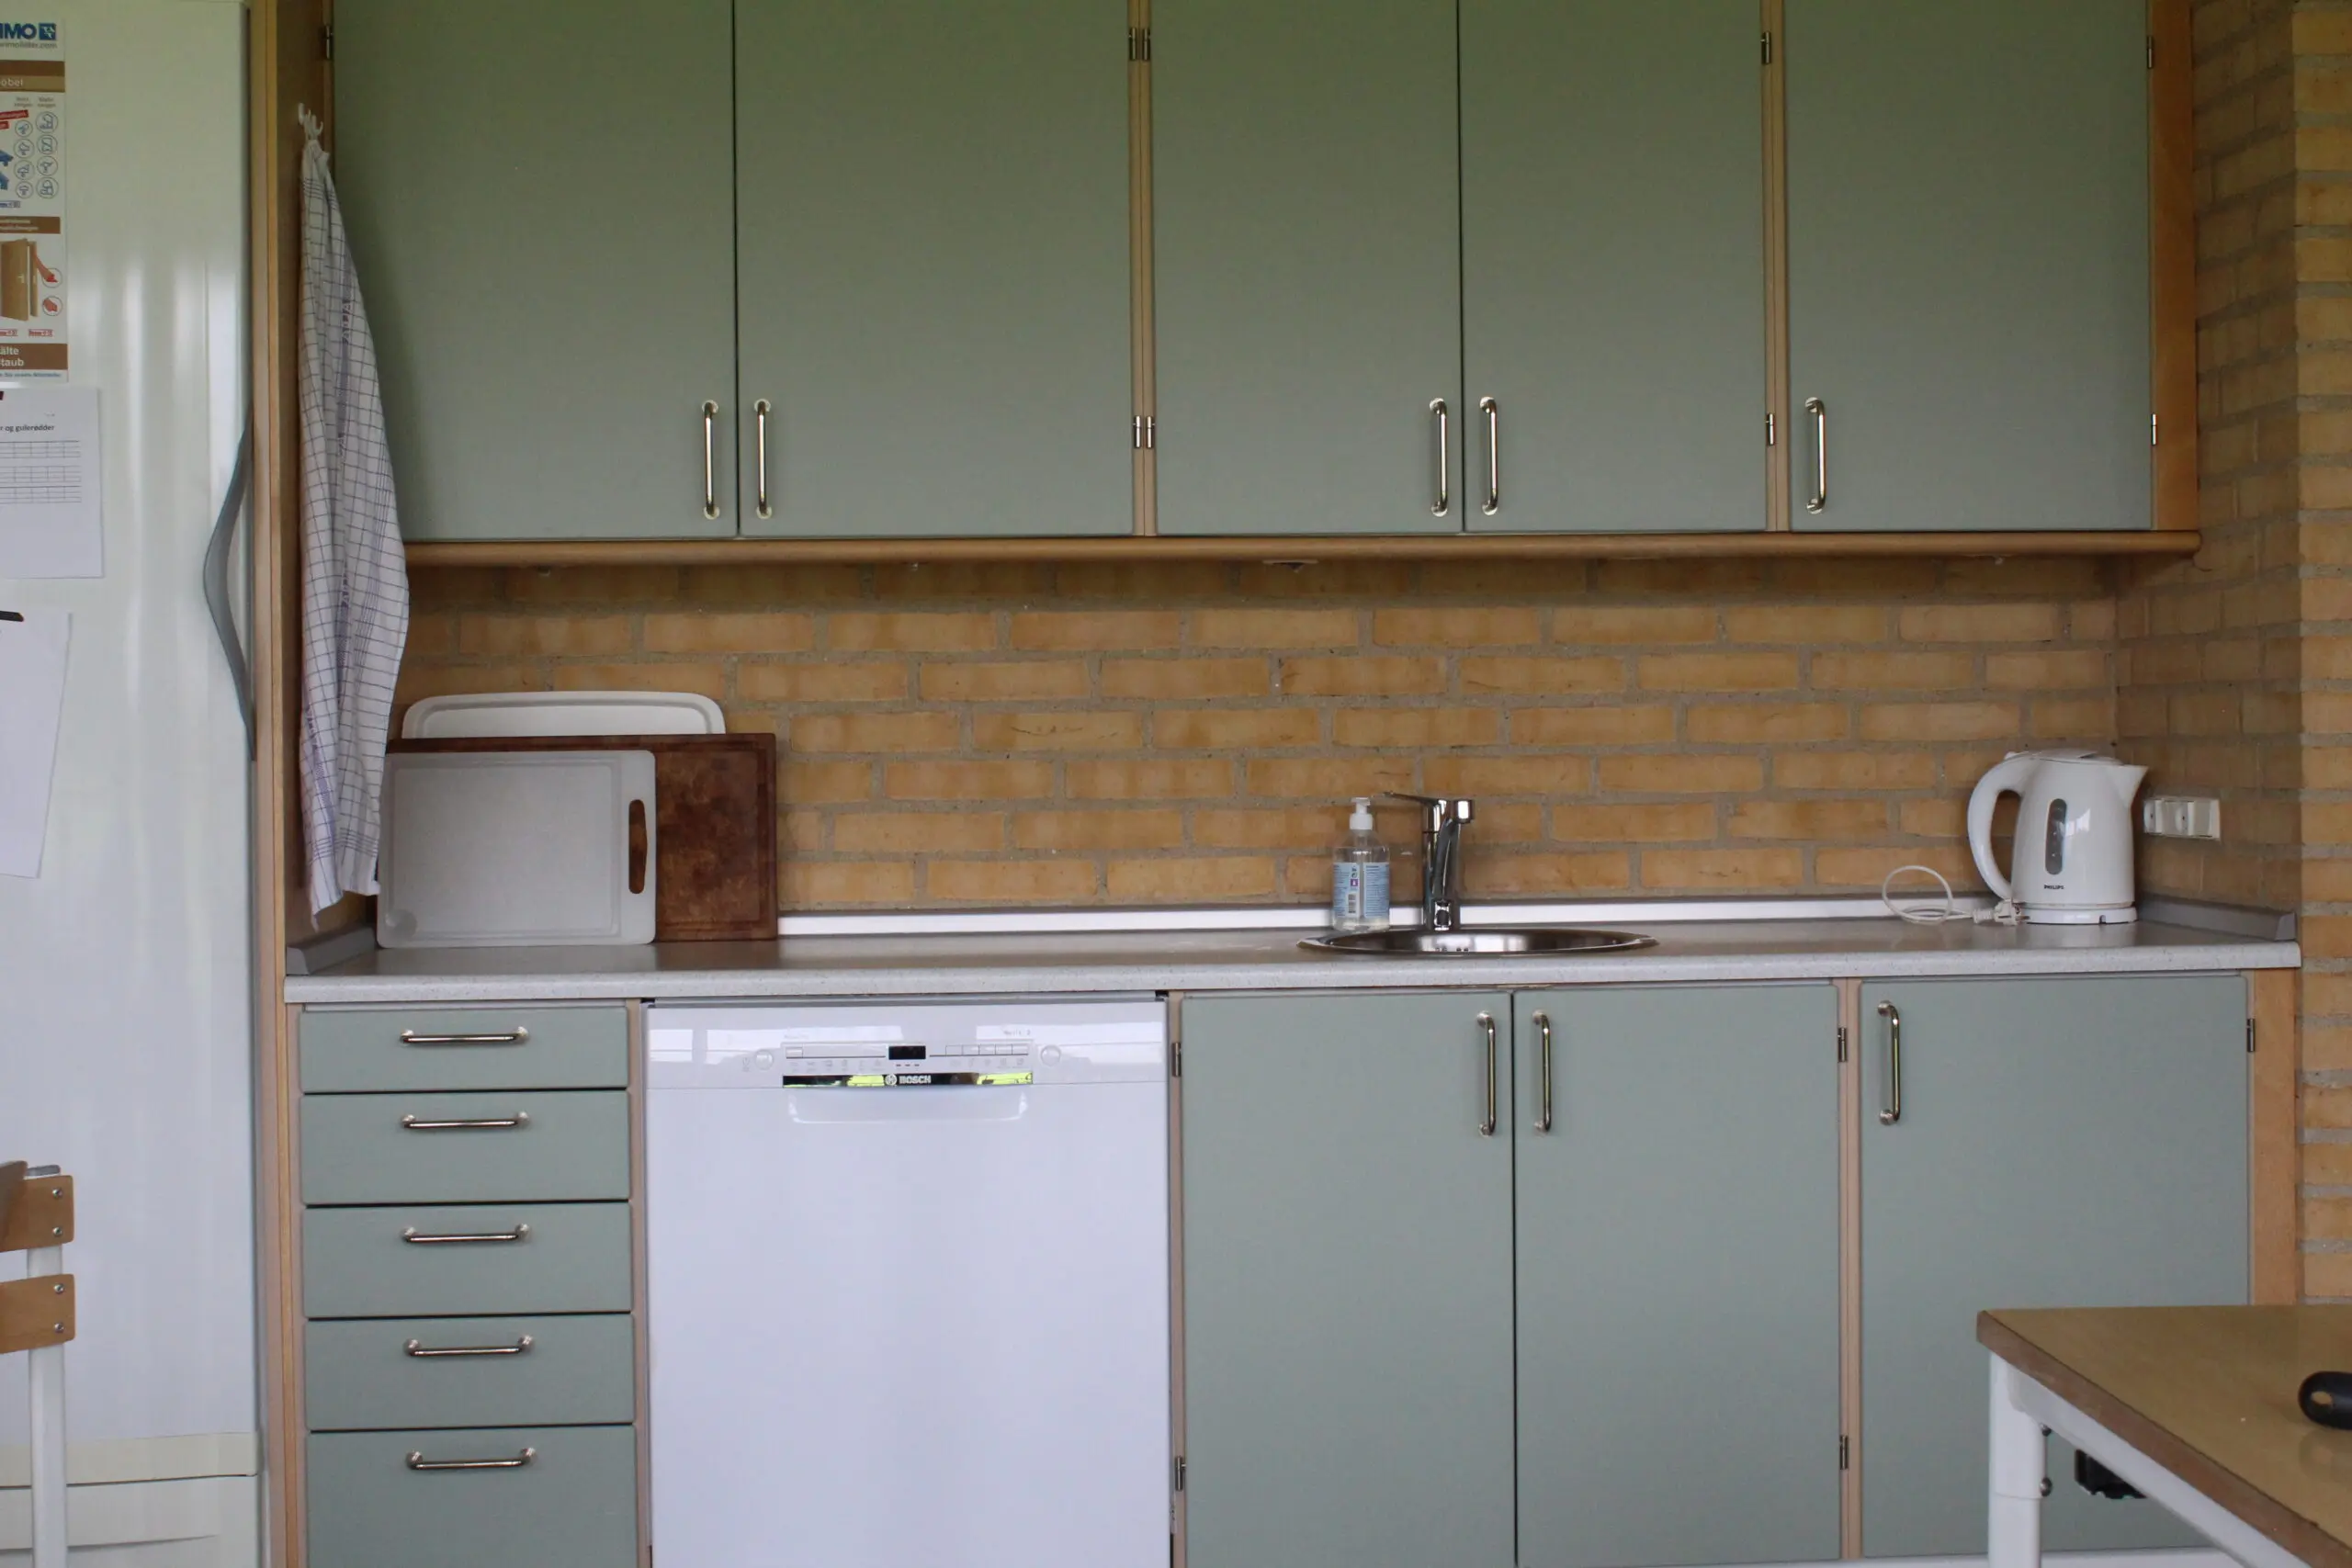
We chose to wrap the kitchen cupboard doors because foil is an easy and effective way to give surfaces a fresh new look whilst preserving the original structure. If you change your mind later, foil is easier to remove than paint.
We chose a mint green film that gives the room a fresh and modern look, which contrasts beautifully with the kitchen’s original brick wall.
Before you start applying the film, it is important to clean and degrease all surfaces – both front and back. This ensures that the film adheres properly and lasts longer. It also removes any dirt that might otherwise become visible under the foil.


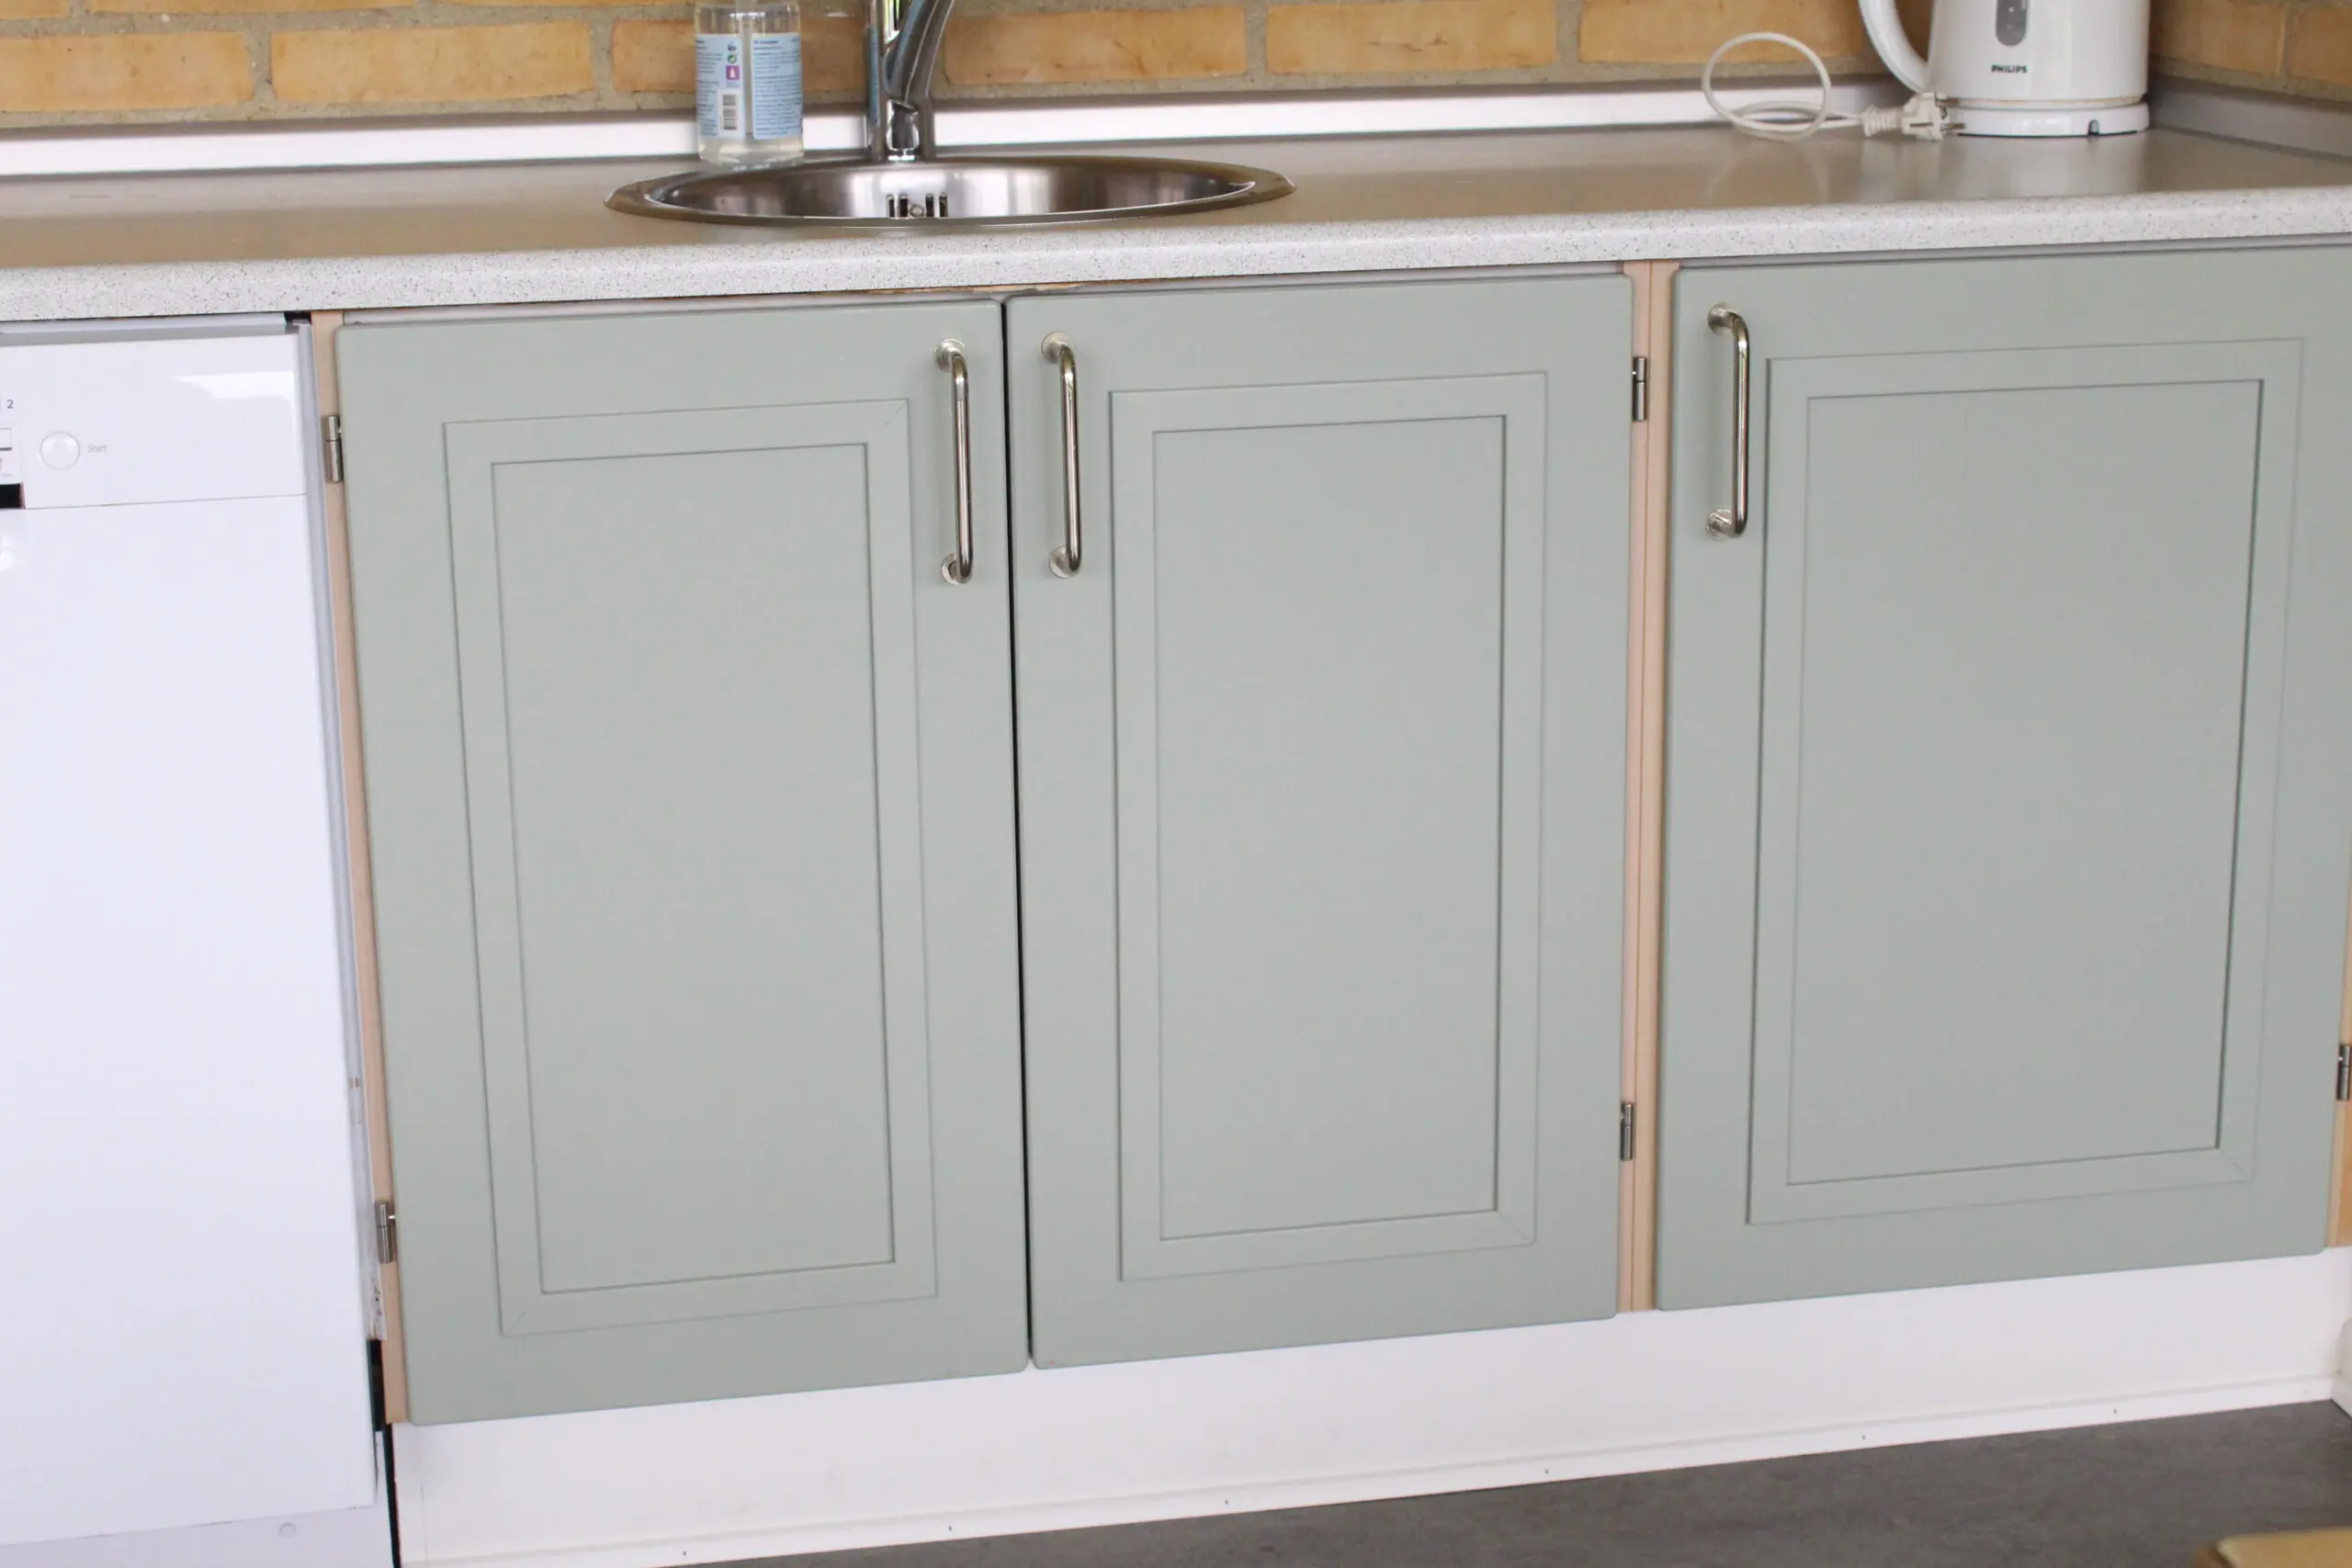
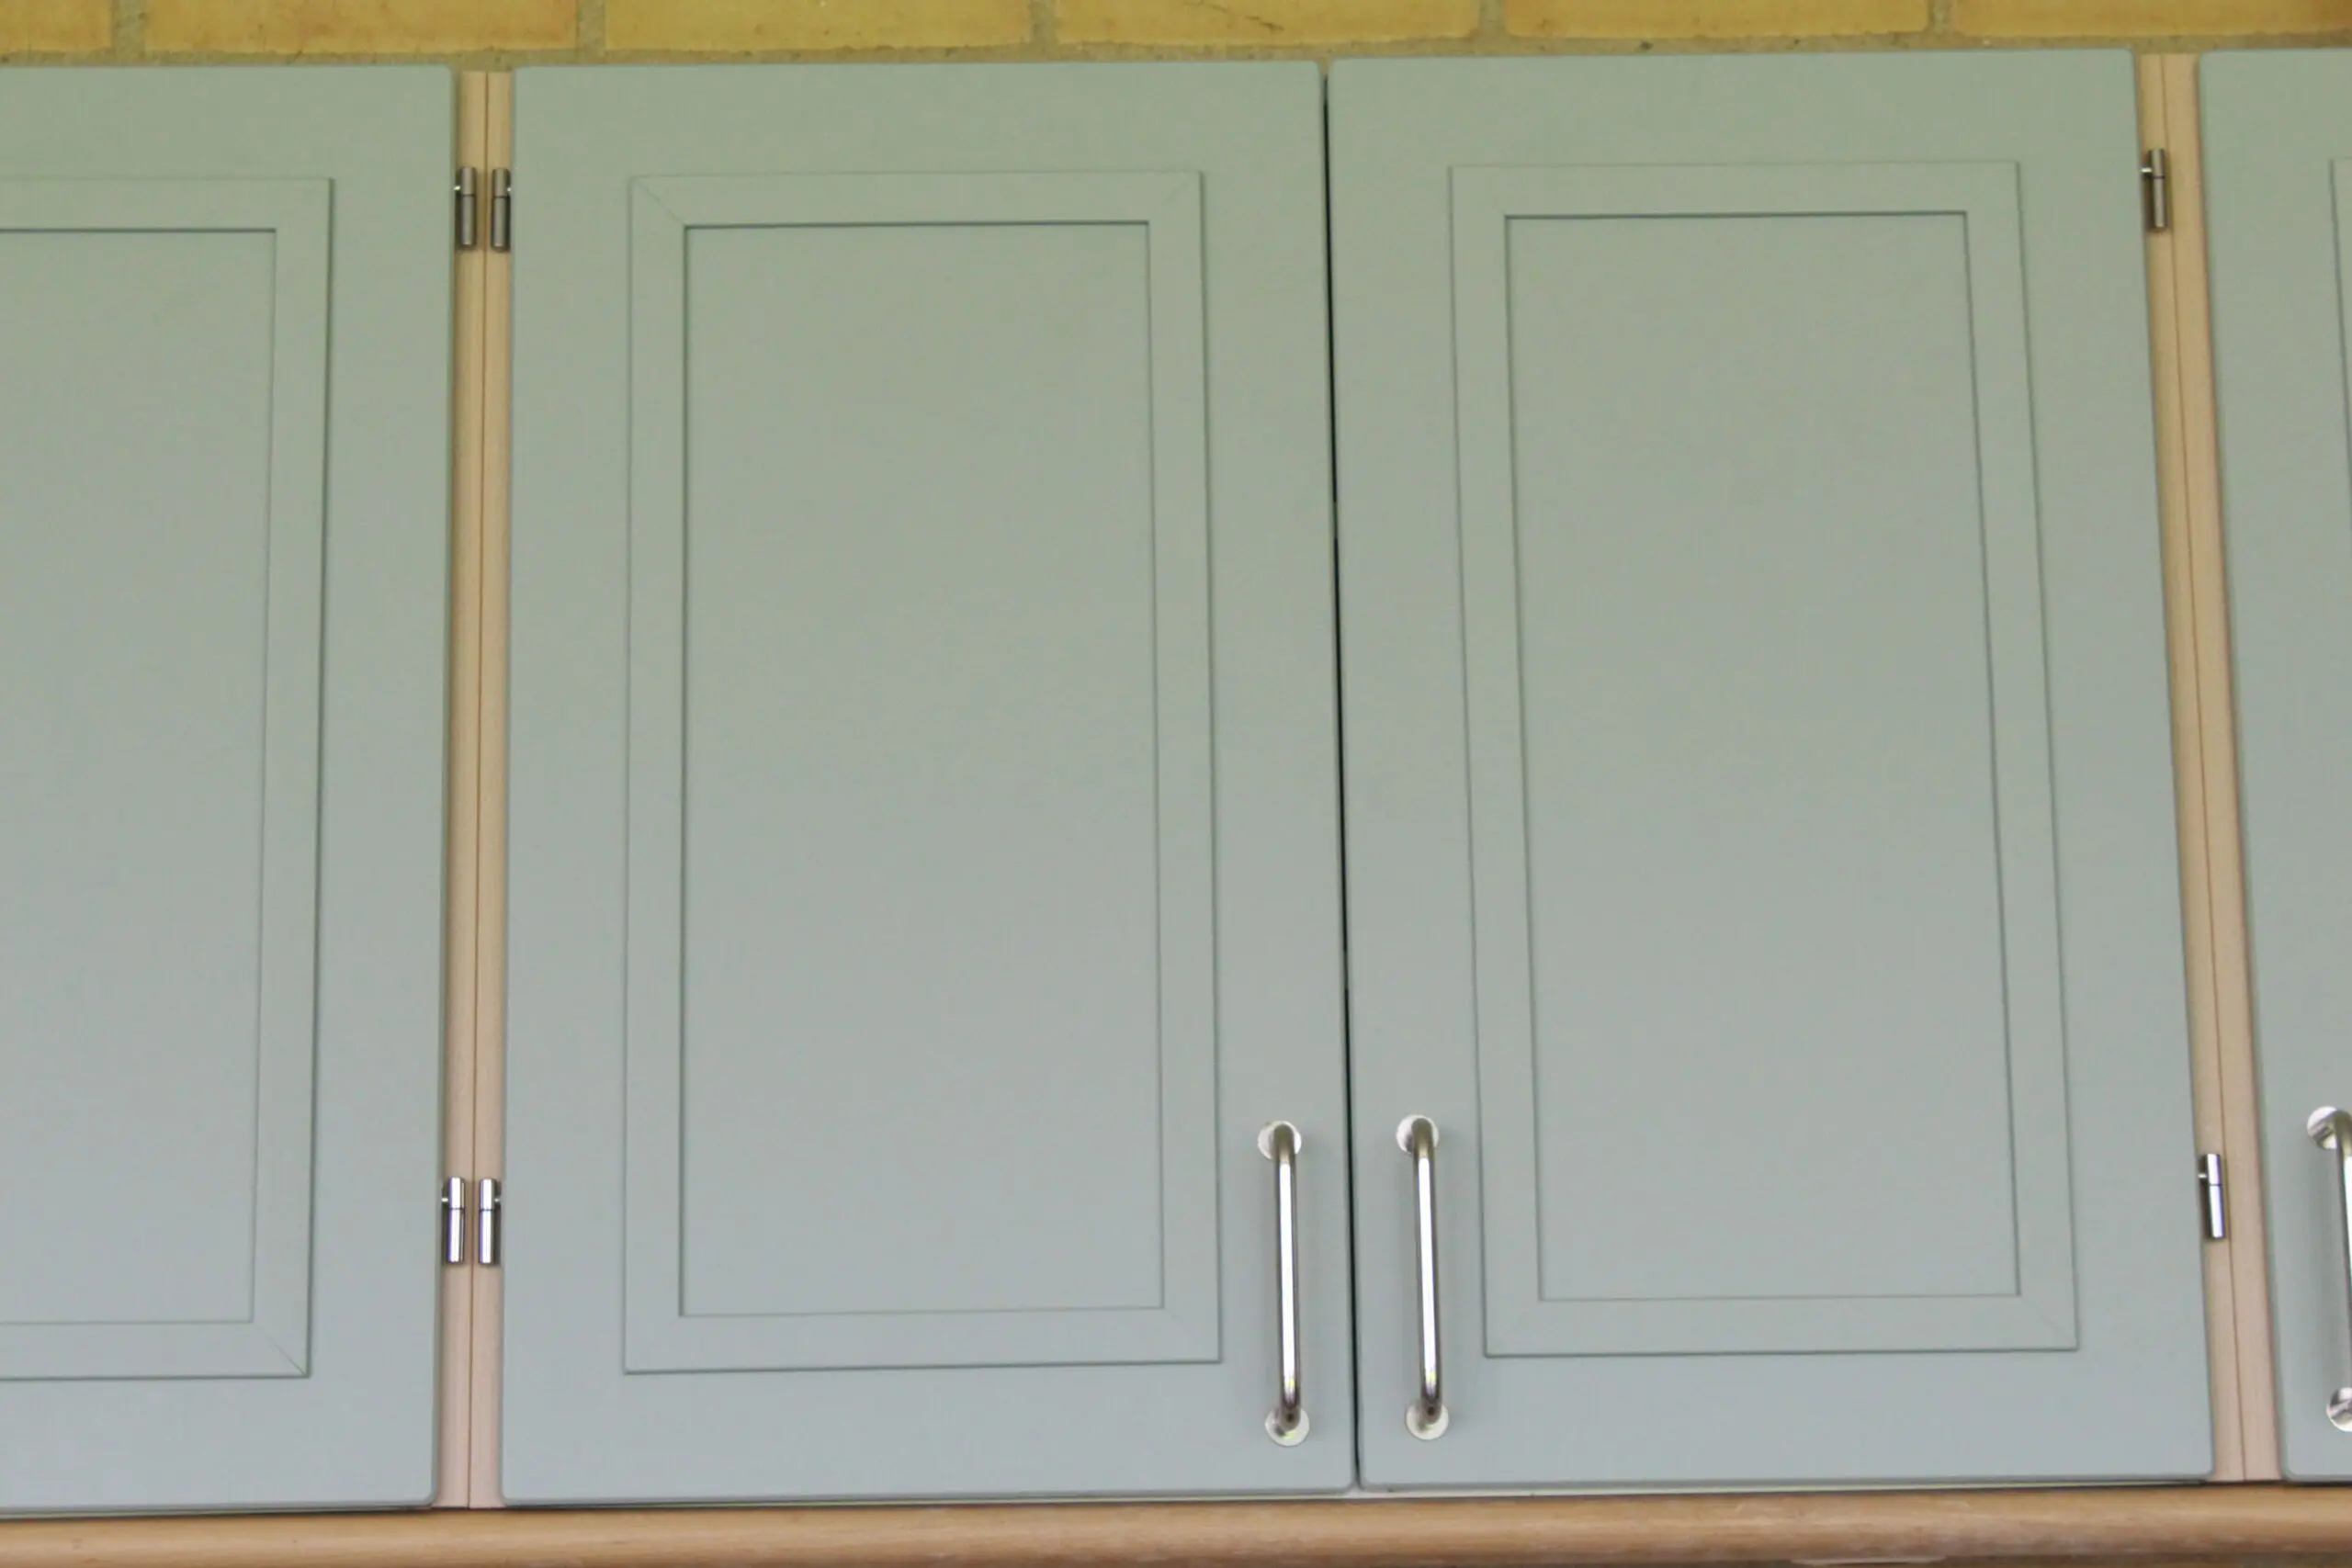
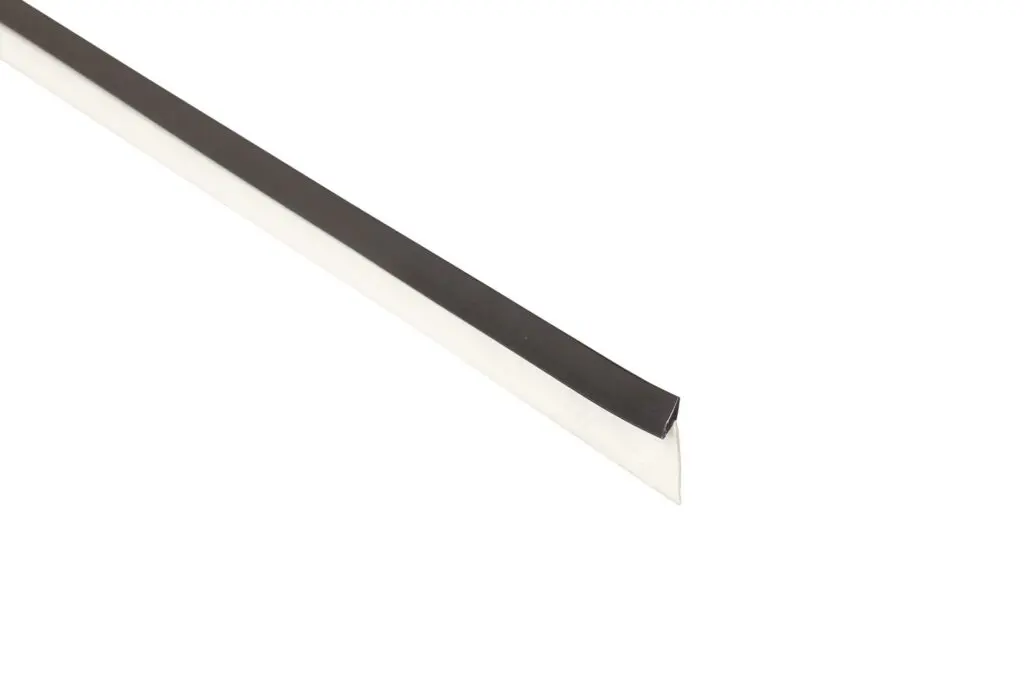
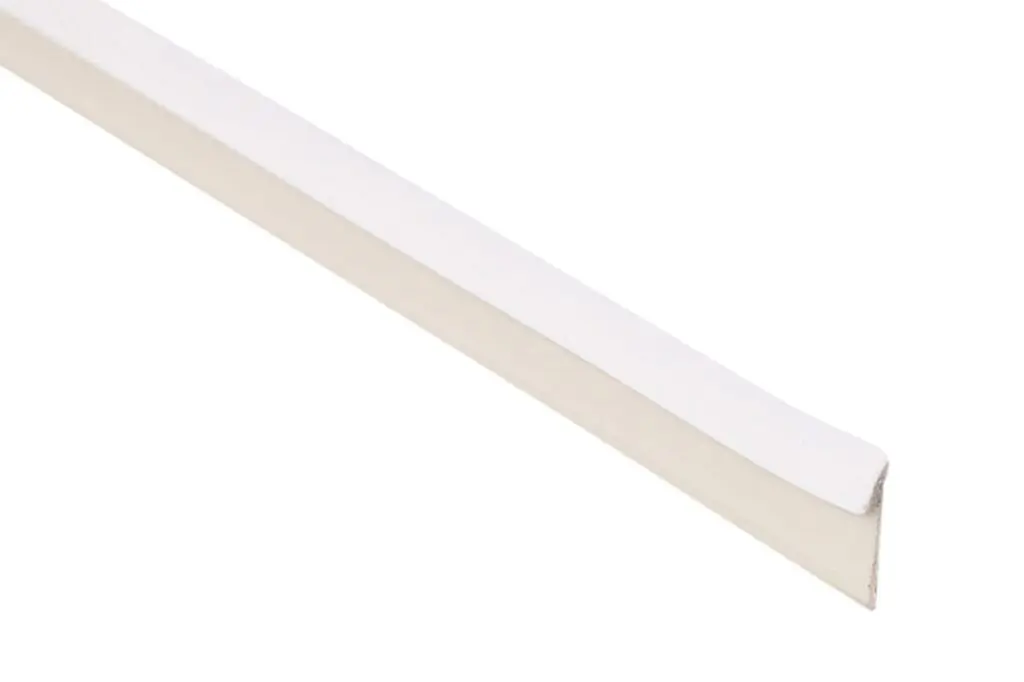
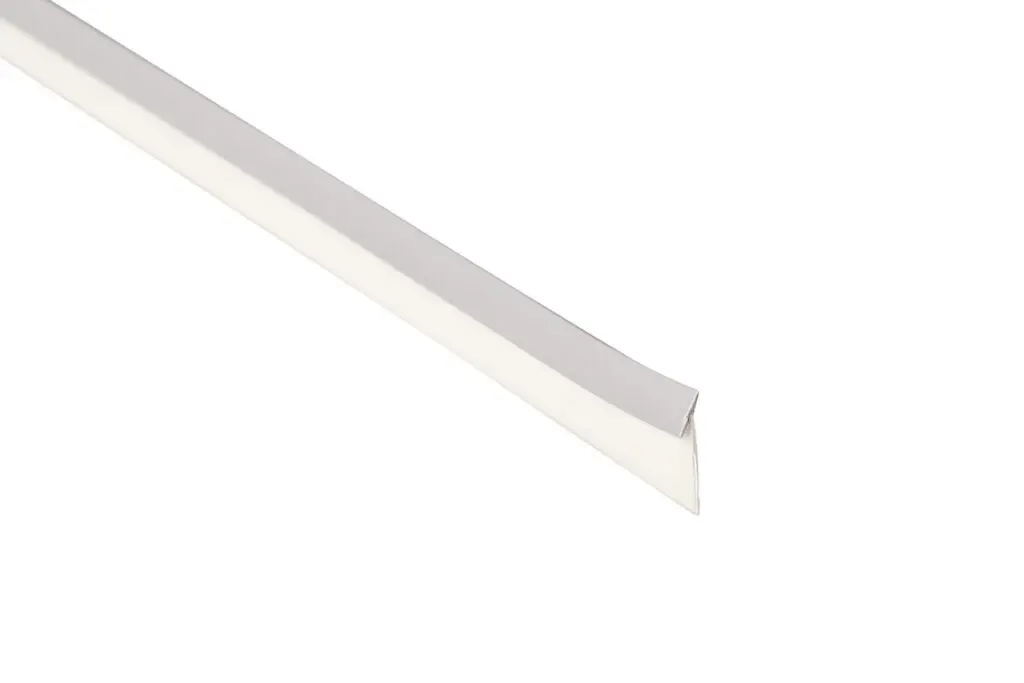
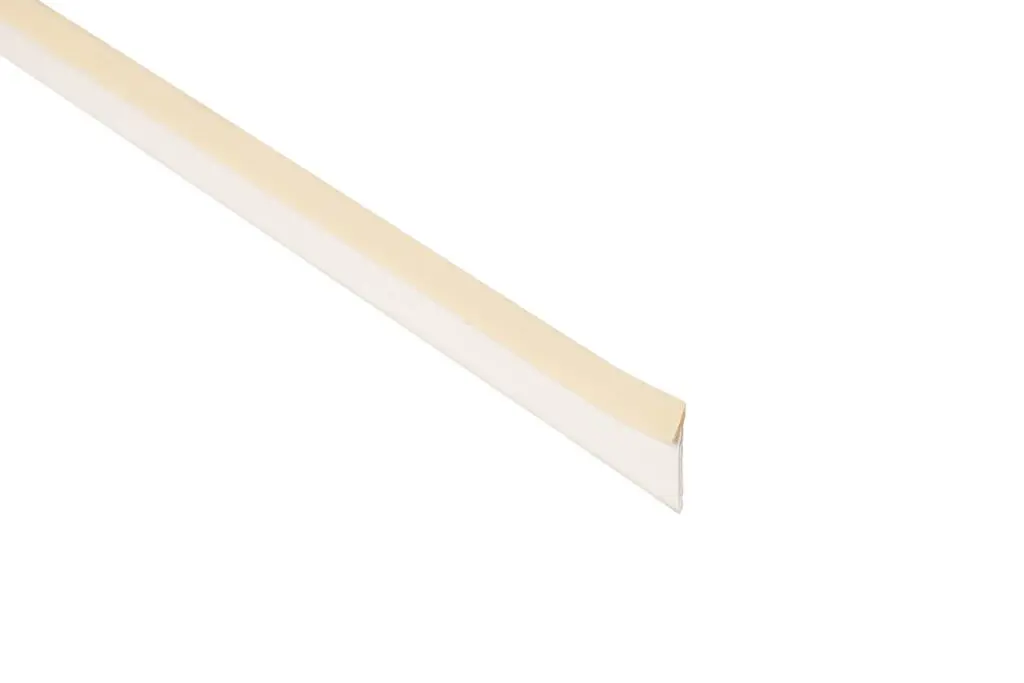
Changing the colour was a huge improvement, but it was missing that final touch. To complete the transformation, we decided to fit PRIMO wall mouldings to the kitchen doors. We used model 1454-0009-45, which is self-adhesive. We love the modern, tall panels, so naturally that’s what we chose to add as the finishing touch.
As our kitchen cabinets have different widths, we decided not to focus on uniform panel sizes. Instead, we ensured that the distance from the edges of the doors to the start of the moulding was the same. So the first step was to measure up and work out how many mouldings we would need.
We then cut the mouldings to the correct size, after which we applied the film. This can also be done in reverse order: apply the film to the whole moulding first and cut it to size afterwards (the film won’t tear).
Finally, we fitted the mouldings by placing the doors on a table to ensure a stable surface. We adjusted them so that the mouldings were centred, removed the protective film and stuck them in place.
We think the mouldings really added that final ‘wow’ factor, and we’re absolutely delighted with the result!

This project shows that even small changes can make a big difference. We didn’t need to make any major investments to achieve a great result. With a new colour and some simple skirting boards, our kitchen was transformed into a stylish and inviting space that we’re all very happy with.
Have you completed any creative and inspiring projects using skirting boards? Then share them with us by sending an email to dkcdb@primo.com
Are you looking for PRIMO moldings? I’d be happy to help you.