
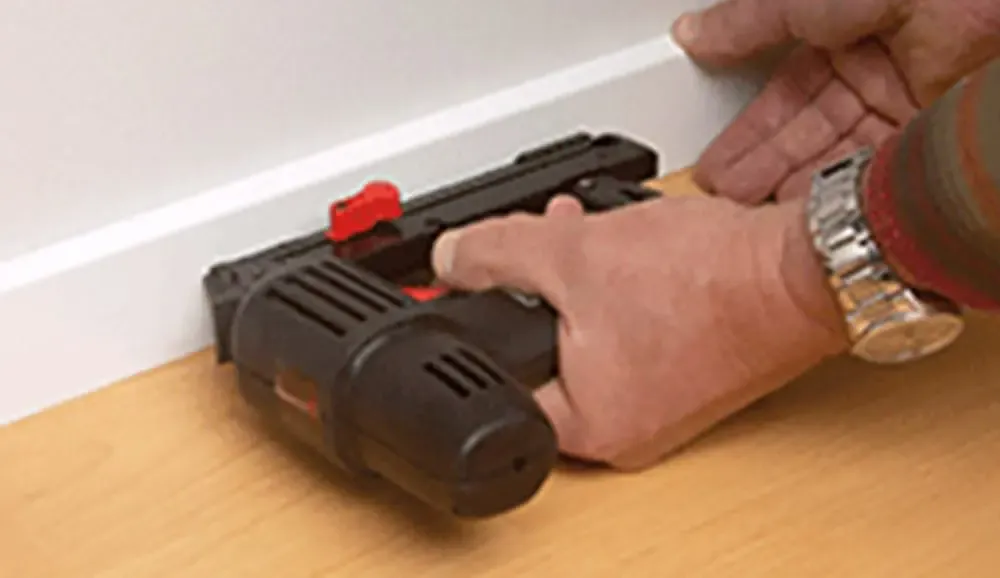
Most plastic mouldings are quite easy to bend. For elongated curves, it is enough to just fix the moulding as usual. For sharper curves, it is a good idea to heat the moulding to 60 degrees with a heat gun or heat cannon.
If the moulding is to be fitted using adhesive, it should be warmed over a template or similarly before fixing.
Also look under guidelines for bending mouldings.
You should use an alcohol-based silicone or fixing adhesive. Be sure to read the instructions carefully before starting. If the wall is uneven, you should fix the moulding until the adhesive has hardened. Any excess silicone or adhesive can be cleaned away as soon as it dries. Cut away the adhesive with a hobby knife on both sides.
We do not stock end pieces for solid mouldings, but you can create an attractive finish by making a “cross cut”, which means the end is cut similar to an outside corner- the end is cut off as if you were planning to continue with an outside corner and then glued to the moulding. This is actually easy to do, but hard to explain. The images show the solid moulding from above
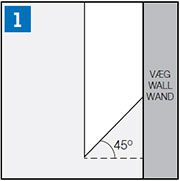
1. The moulding is cut similar to an outside corner and fitted to the worktop.
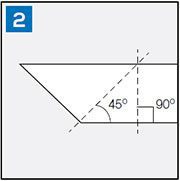
2. The remainder of the moulding is cut into a triangle as shown in the diagram.
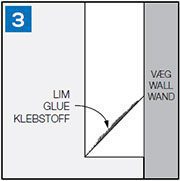
3. The small triangle is glued to the moulding just like an end piece.


