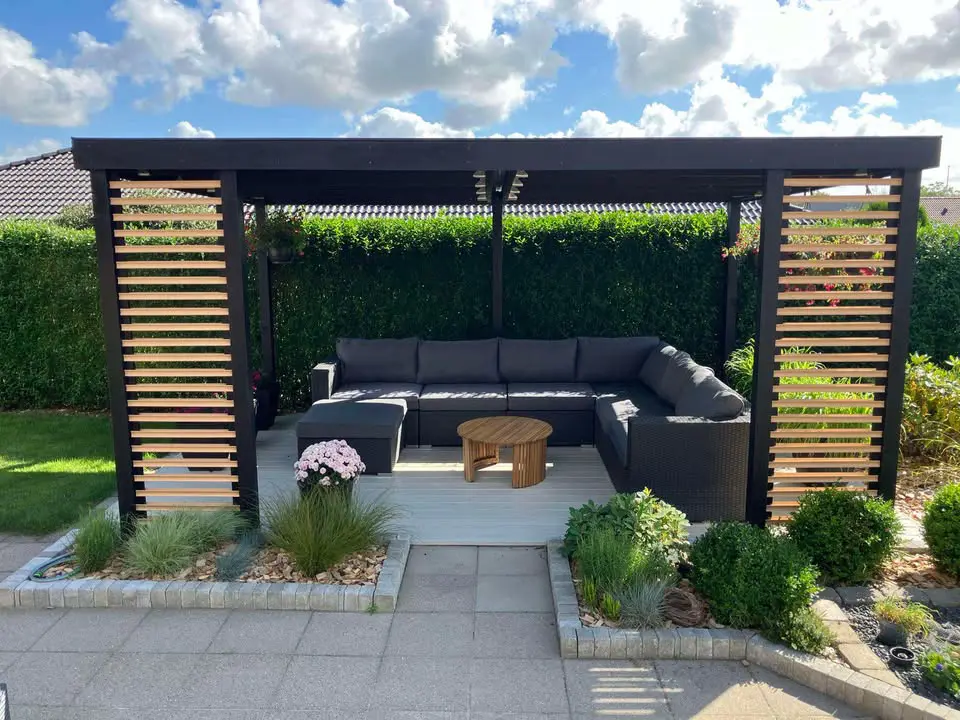
From standard to stylish: See how the right mouldings can transform your pergola.
Give your pergola an exclusive finish with Primo scotia mouldings
A pergola can be much more than just a canopy – with the right details, it can become an aesthetic focal point in the garden.
In this project, our colleague Thomas has enhanced the design with scotia mouldings, which add texture, a sense of lightness and a sleek look.
The best part? It’s a solution that’s both simple and effective to implement.
How to do it – step by step
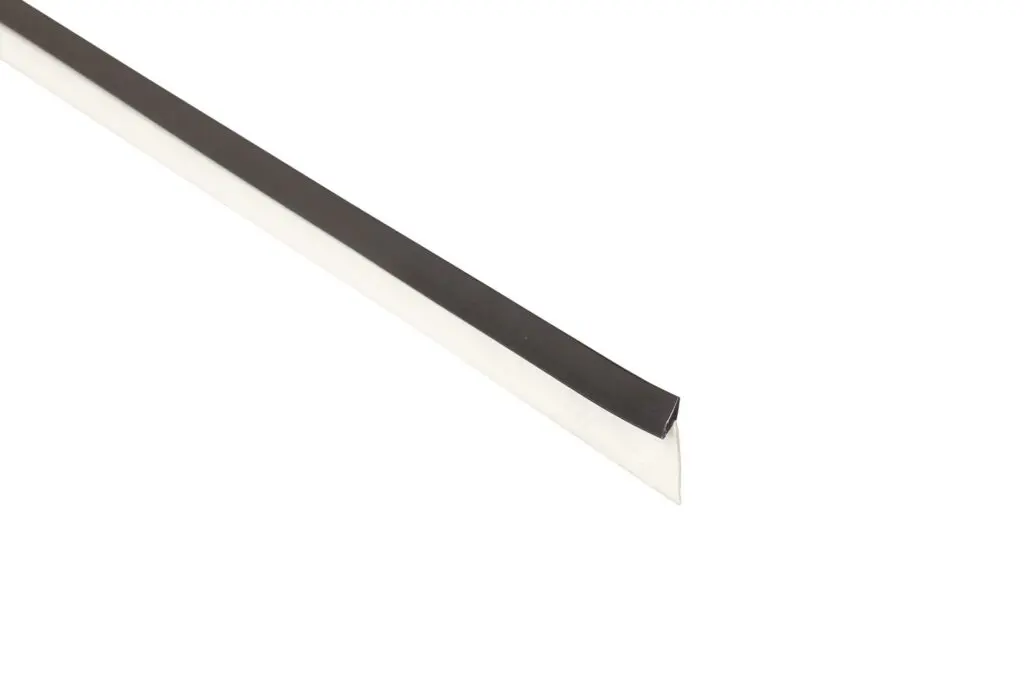
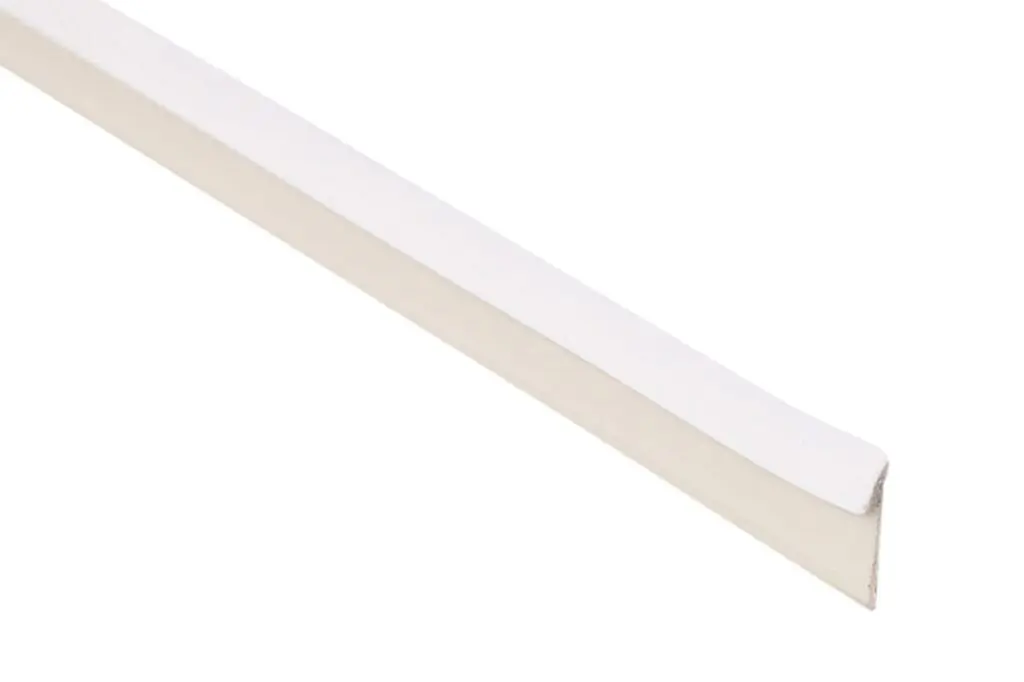
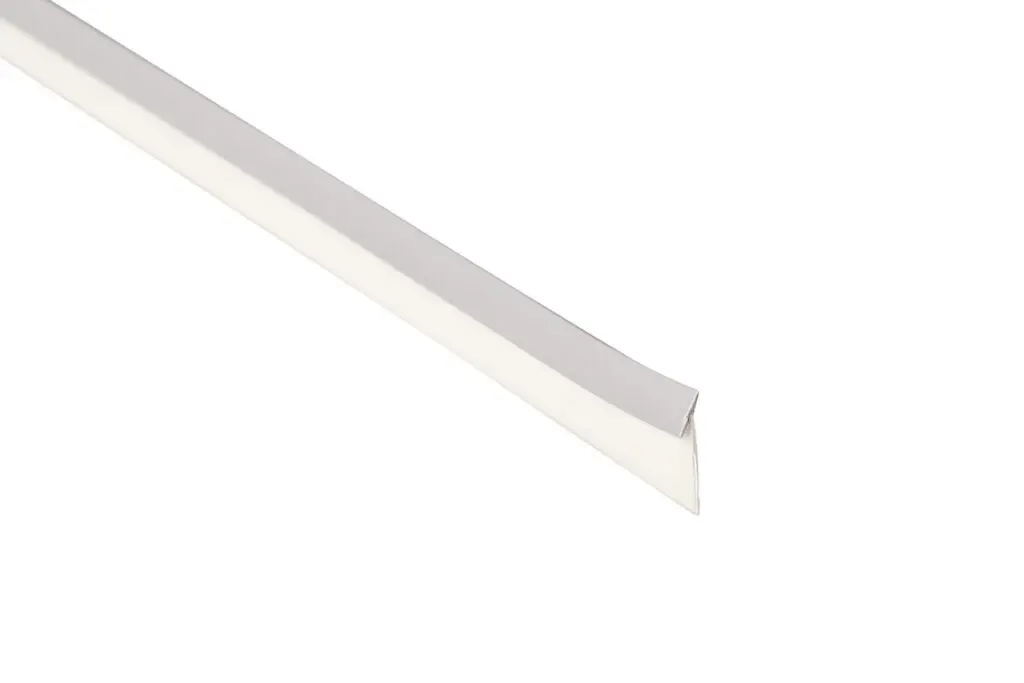
1. Choose the right moulding Here, we have used beech scotia mouldings (5079/5078), which create a warm and natural look.
2. Cut to the correct length Cut the mouldings to fit your project precisely for a clean and professional finish.
3. Plan the spacing The spacing between the mouldings is crucial to the visual effect. Measure up in advance so you know how many mouldings you will need.
4. Pre-drill for precision By pre-drilling the formwork boards, you ensure consistent installation and prevent the wood from splitting.
5. Use stainless steel nails For outdoor projects, stainless steel materials are a must – they ensure durability and a neat finish over time.
6. Install on both sides By installing battens both inside and out, you achieve a cohesive and exclusive look from every angle.
A good choice for outdoor use
For this type of project, plastic mouldings can be an excellent solution – especially if you want a durable and low-maintenance finish.
Plastic mouldings are particularly well suited to outdoor use, as they:
Withstand moisture and changing weather conditions without any problems
Require minimal maintenance
Retain their shape and appearance over time
Are easy to work with and install
This makes them ideal for structures such as pergolas, where the materials need to withstand the British climate – without compromising on the visual appeal.
We’d love to see what you create! Share your photos with us so we can inspire each other. If you have any questions or need advice, you’re always welcome to contact me, Cathrine, at dkcdb@primo.com – I’d be happy to help you with your project.