How to upcycle your furniture with a stylish herringbone pattern ​

Do you ever look at your drawers and cupboards and think, “Oh, how boring they are!”? I certainly did. But instead of buying something new, I embarked on an upcycling project where we decorated our cupboard doors with the most beautiful herringbone pattern.

Here, we’ll show you how you can easily update your cupboards and drawers with PRIMO’s wall mouldings to give them a fresh, unique look.

All you need:

  • PRIMO wall mouldings
  • Mitre saw
  • Degreaser
  • Folding tule or other measuring equipment
  • Pencil

8 SIMPLE STEPS:

Step 1 - Plan the project

Start by measuring your furniture and, if necessary, draw a sketch of the project. This will give you an idea of what it will look like and can be used when calculating how many mouldings you’ll need. Remember to allow for a few millimetres of waste when cutting the mouldings.

Step 2 – Choose the right mouldings ​

Choosing mouldings is a matter of personal taste, and you should, of course, choose the ones that best suit you and your style. PRIMO has a wide selection of wall mouldings, so take a look and find your favourite.

It can be an advantage to choose self-adhesive flat mouldings, as this means you avoid having to use other adhesives, nails and/or screws.

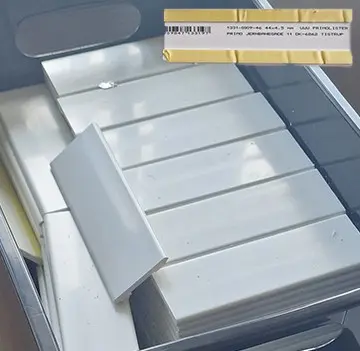
We chose to use PRIMO’s self-adhesive wall moulding, 1331-0009-46, and this is the one the rest of the guide is based on.

Step 3 – Cut the wall mouldings to size

Use the mitre saw to cut the mouldings to the required length.

We chose a length of 13.2 cm, which is three times the width of the moulding.

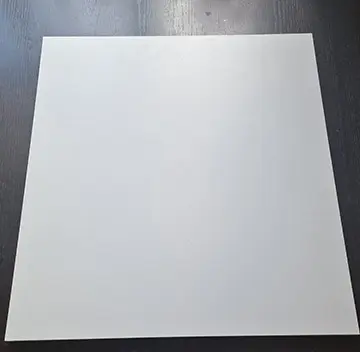
Step 4 – Prepare the furniture

If it is possible to remove the part of the furniture to which the mouldings are to be glued, I strongly recommend doing so. This will make the process easier.

Clean the furniture thoroughly with a degreaser. This is an important step, as a clean and dry surface ensures that the mouldings adhere better and are therefore more stable and durable.

NB: You can use most cleaning products for degreasing. The most important thing is that the surface is degreased without being damaged.

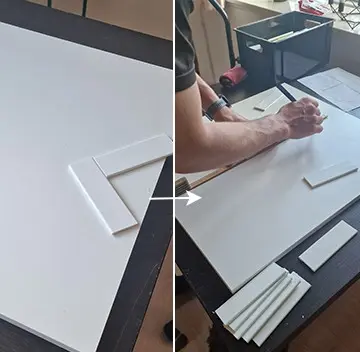
Step 5 – Find the centre of the pattern

To achieve a more symmetrical result, you need to find the centre of the herringbone pattern. This is not necessarily the same as the centre of the piece of furniture.

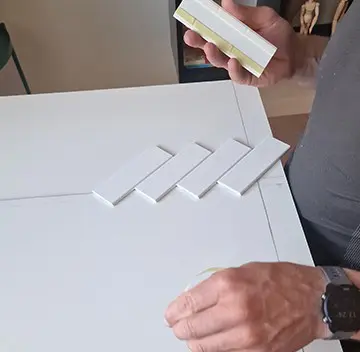
We decided to lay out a test row of the pattern and found the centre from there.

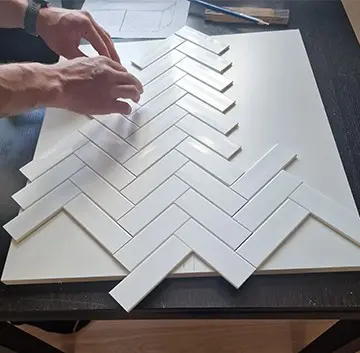
Step 6 – Lay out the pattern before assembly (optional)

Before you start fixing the wall mouldings, I would recommend laying out the entire pattern on the furniture. This will give you a chance to see how it will look, and you’ll have time to make any adjustments.

You can do this several times until you’re happy with the result and ready to install them.

NB: Once the moulding is fixed in place, it is difficult to remove.

Step 7 – Start fitting the wall mouldings

Once you are happy with the layout, you can start fitting the profiles. Start with the middle row of the herringbone pattern and work your way outwards.

Step 8 – Add a frame (optional)

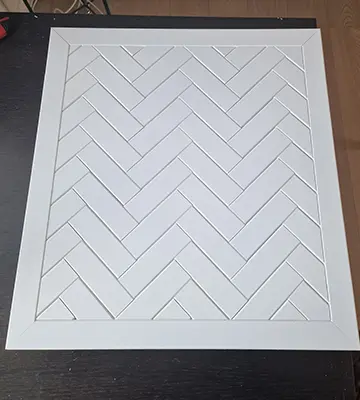
We felt that the frame around the pattern gave a neat and more stylish finish, but it really depends on your personal preference.

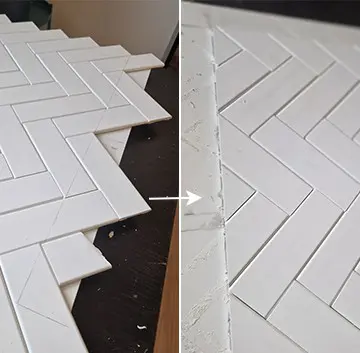
If you want a frame around the pattern, it’s best not to cover the entire surface with mouldings. Instead, stop where the frame is to be – in our case, 4.4 cm (the width of the moulding).

We first chose to cover the entire surface with mouldings. We then marked out the frame, cut the pattern to size and removed the excess mouldings. You can also choose to fit the frame first and then adjust the herringbone pattern.

The corners of the frame were cut at a 45-degree angle, after which they were fixed in place.

We’d love to see the results of your work! Share your photos with us and let’s inspire one another. If you have any questions, please feel free to contact me, Cathrine, at dkcdb@primo.com – I’ll be happy to help you with your project.

I dette projekt er følgende lister brugt

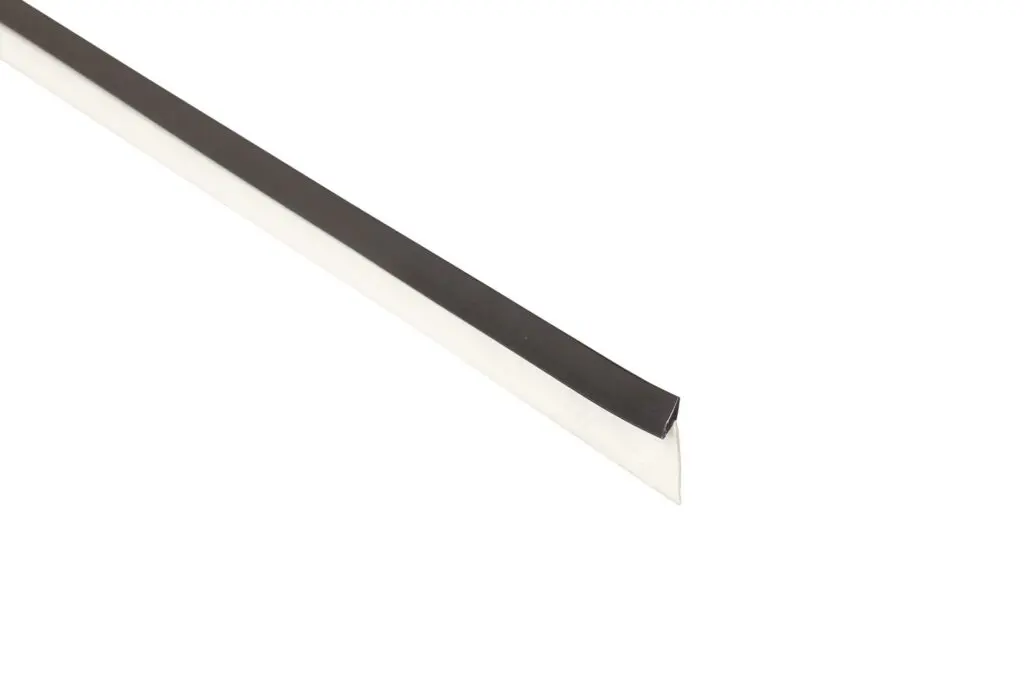
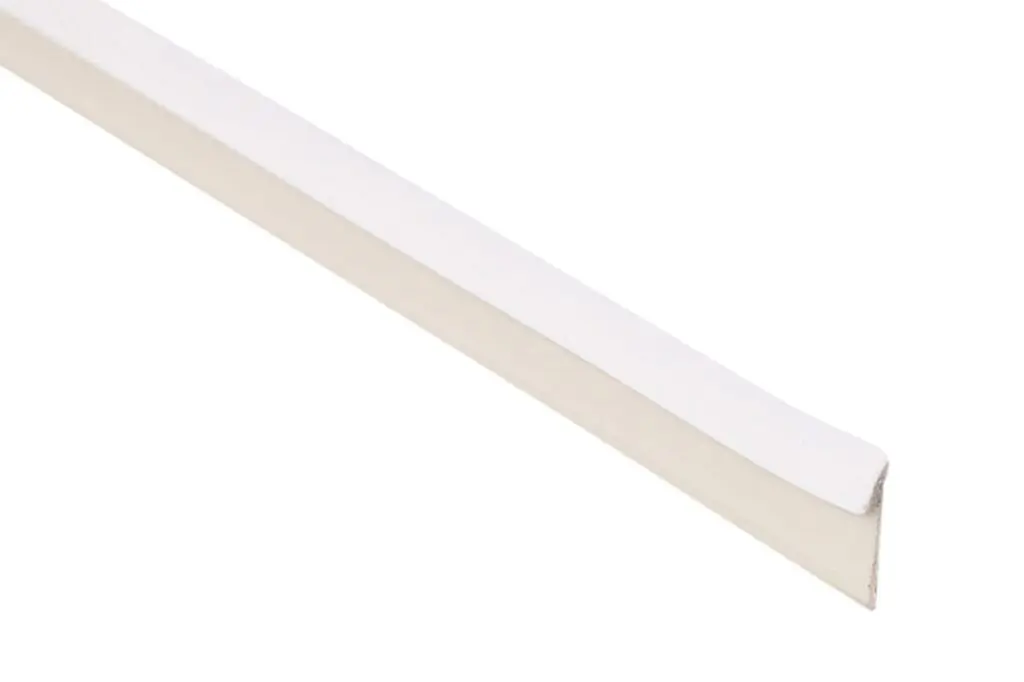
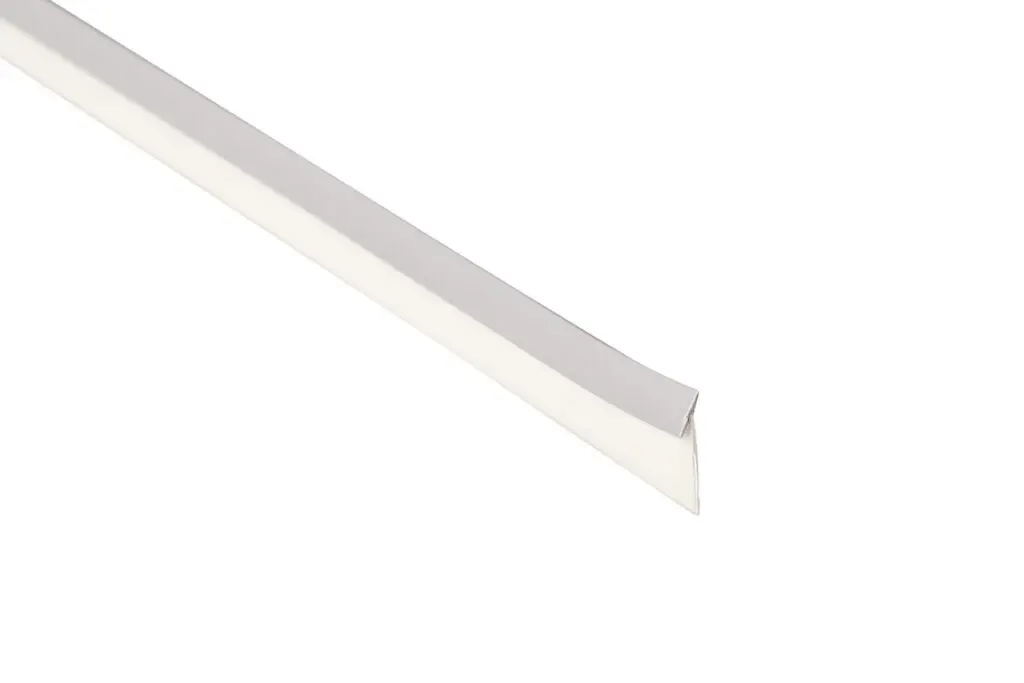
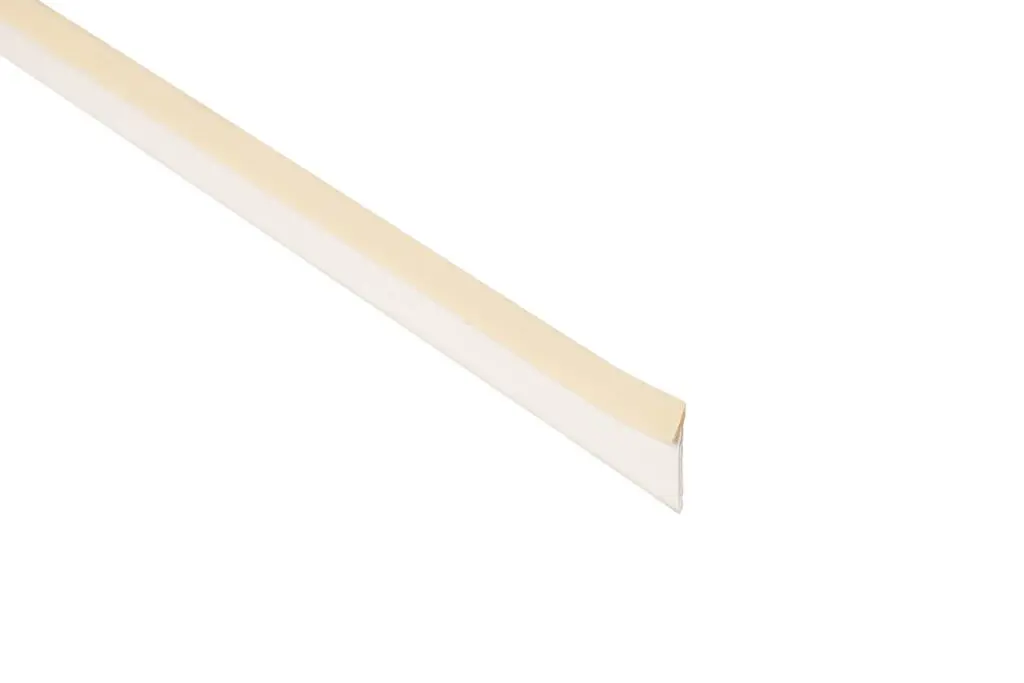
5095, 4.2 m – joint profile, black

Joint Profile

5095, 4.2 m – joint profile, white

Joint Profile

5095, 4.2 m – joint profile, aluminum

Joint Profile

5095, 4.2 m – joint profile, beige

Joint Profile

Find your PRIMO profiles – quickly and easily

Are you looking for PRIMO moldings? I’d be happy to help you.

No data was found