Are you one of those people who dreams of a new kitchen, but whose budget doesn’t quite stretch that far? Perhaps your kitchen looks worn and outdated, but you can’t afford a complete overhaul. Instead of giving up on your dream, you can breathe new life into your old kitchen with simple and affordable solutions. That’s what Ole did, and the result was fantastic.
Scotia mouldings – an easy way to upgrade your kitchen
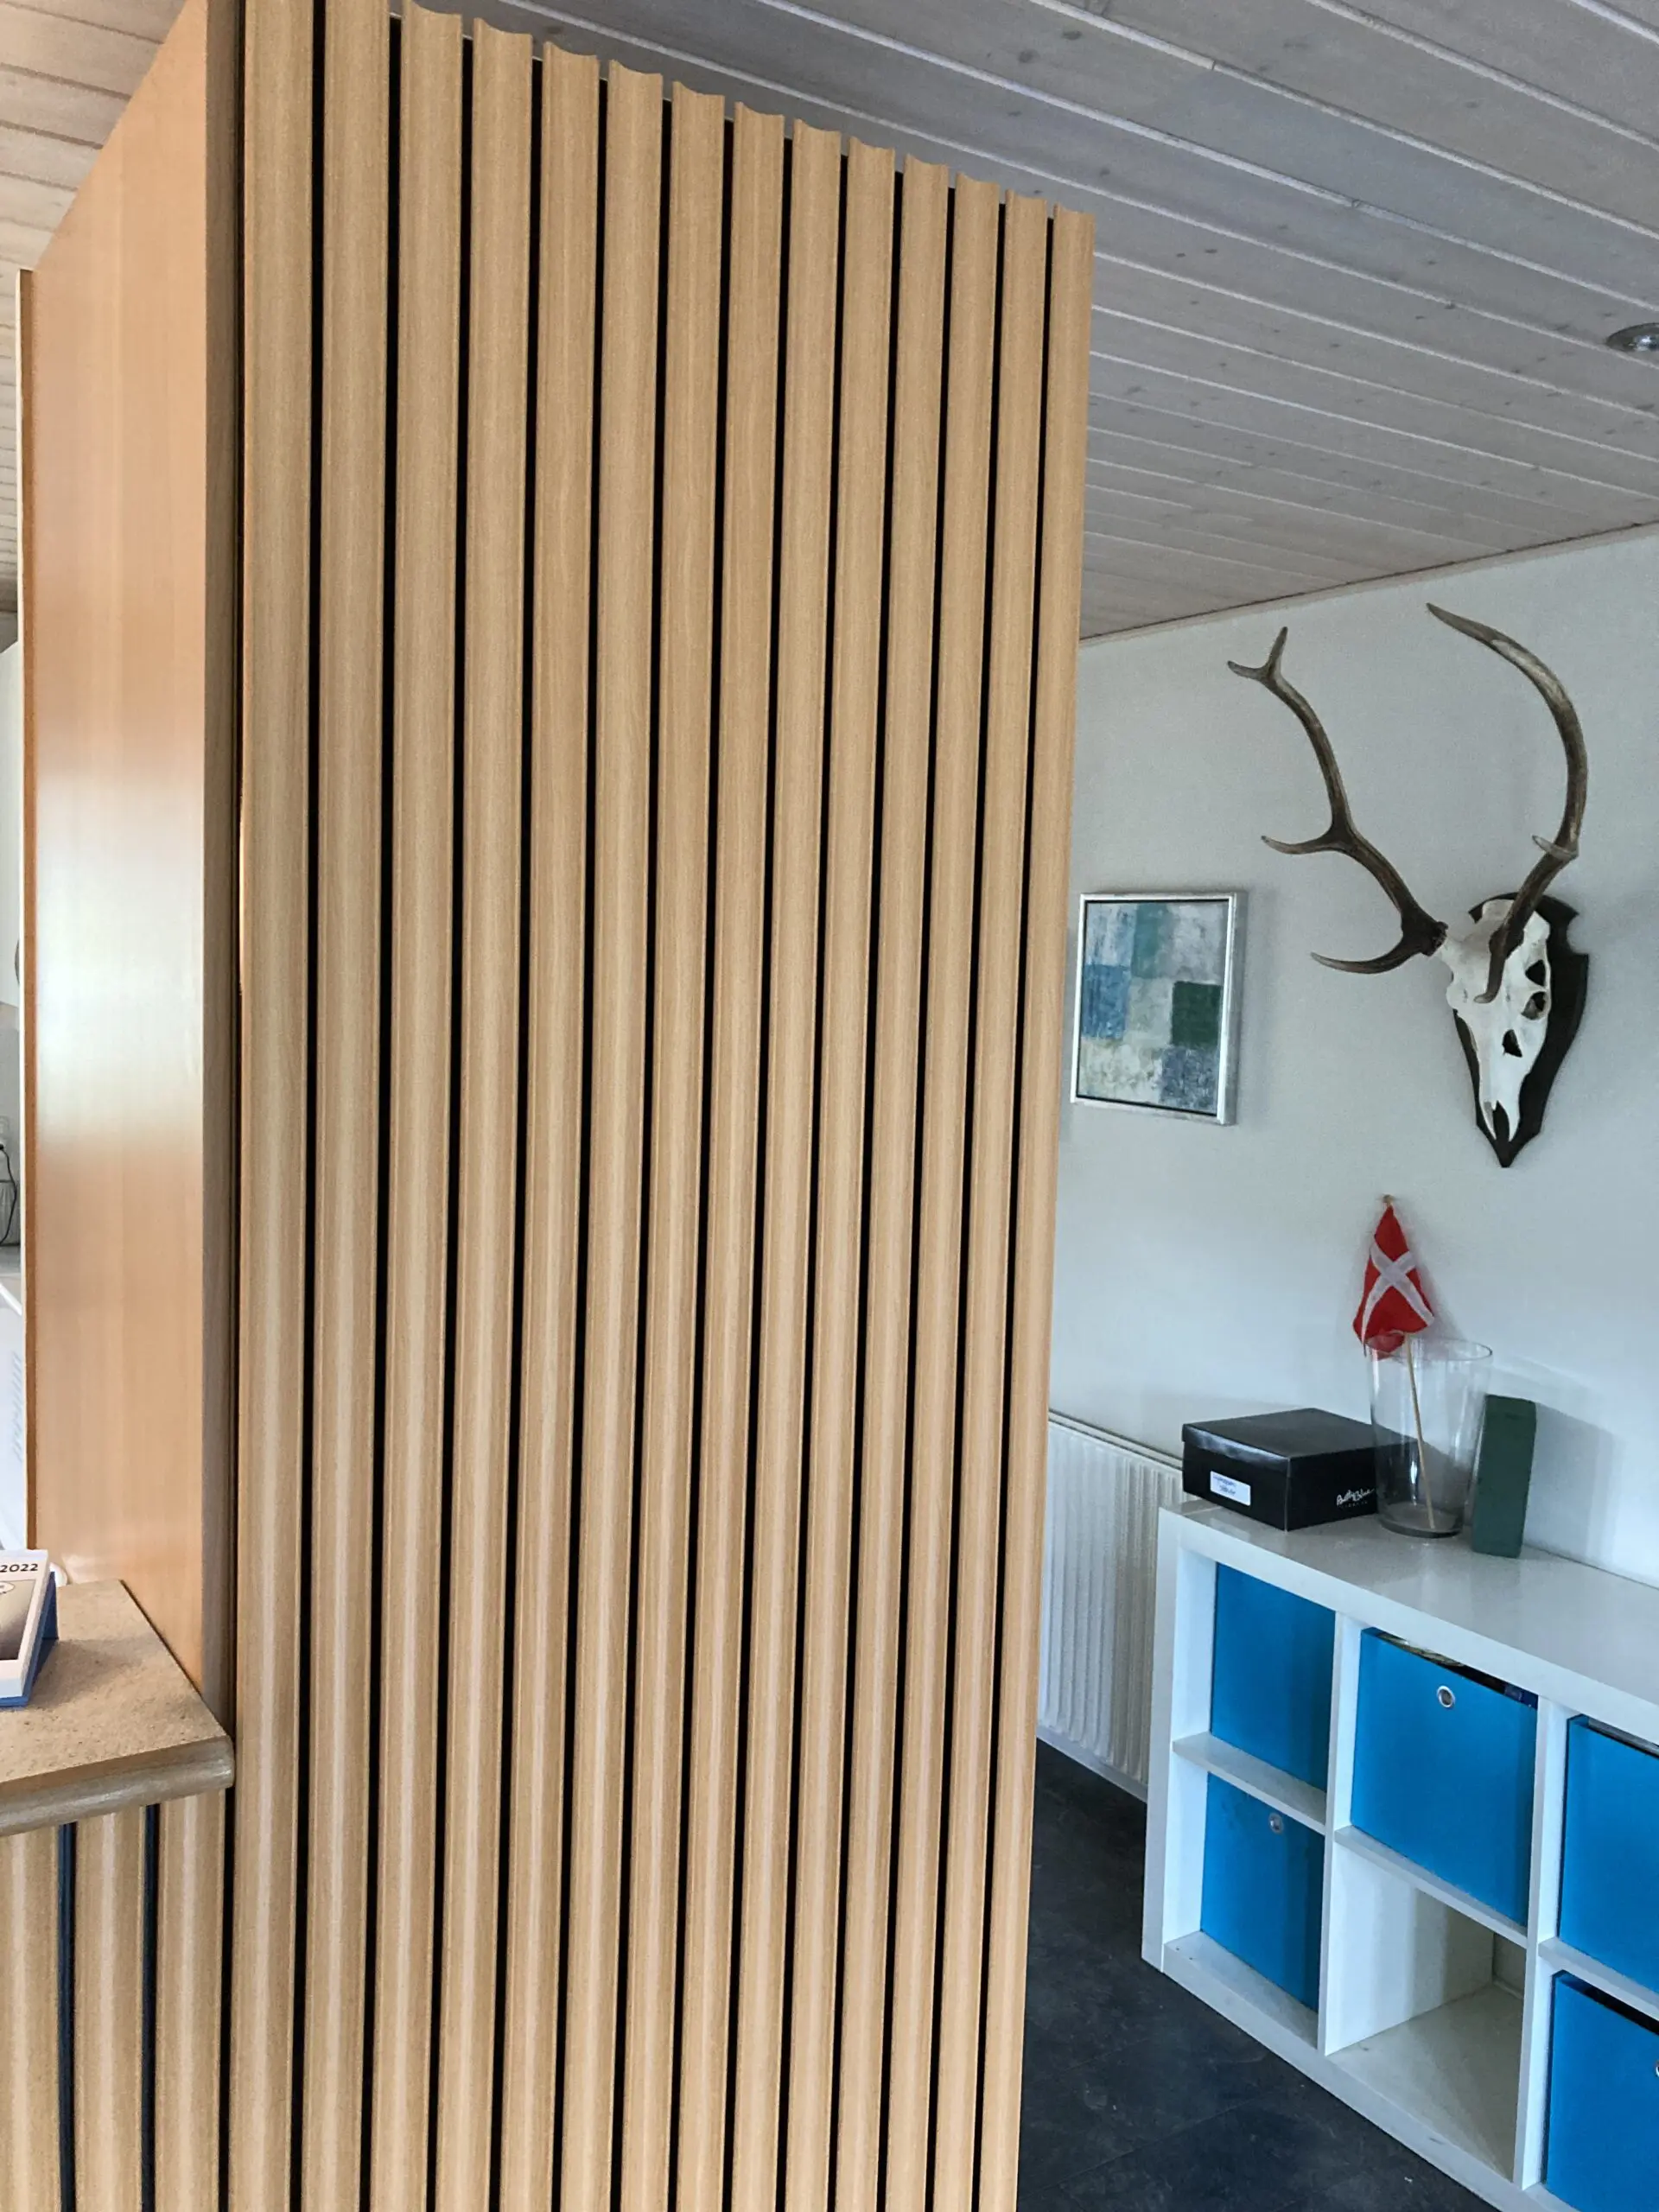
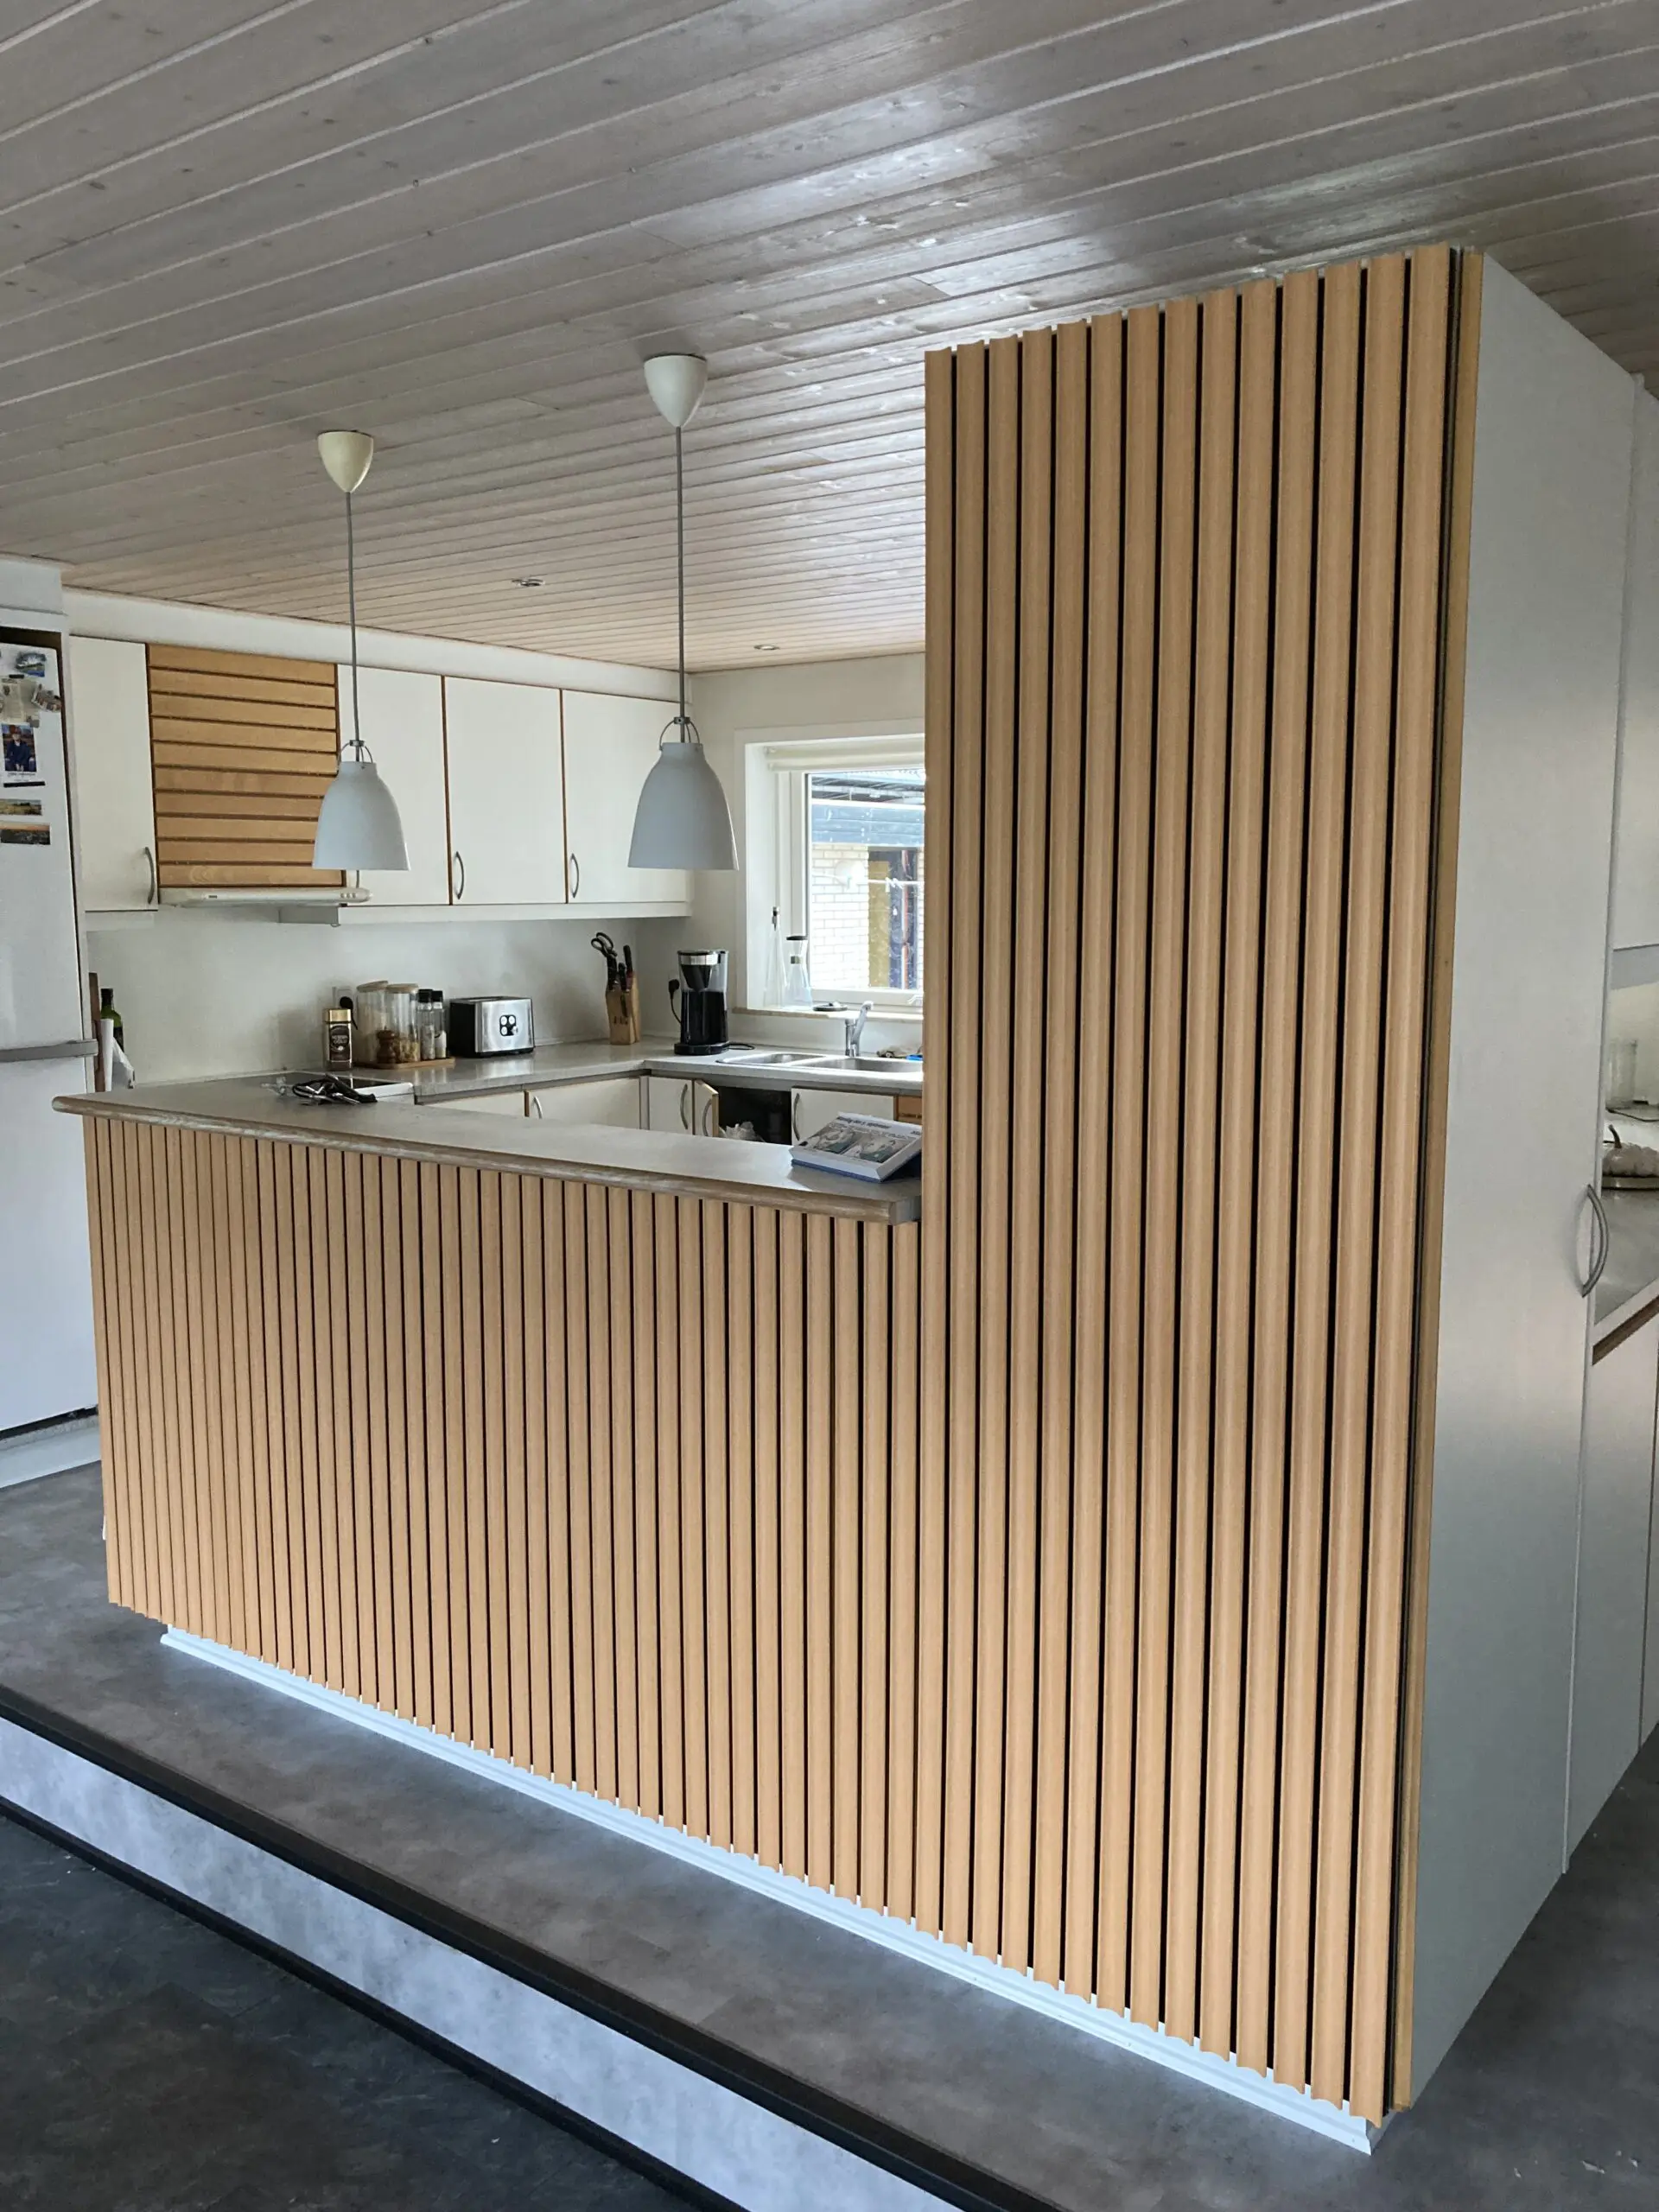
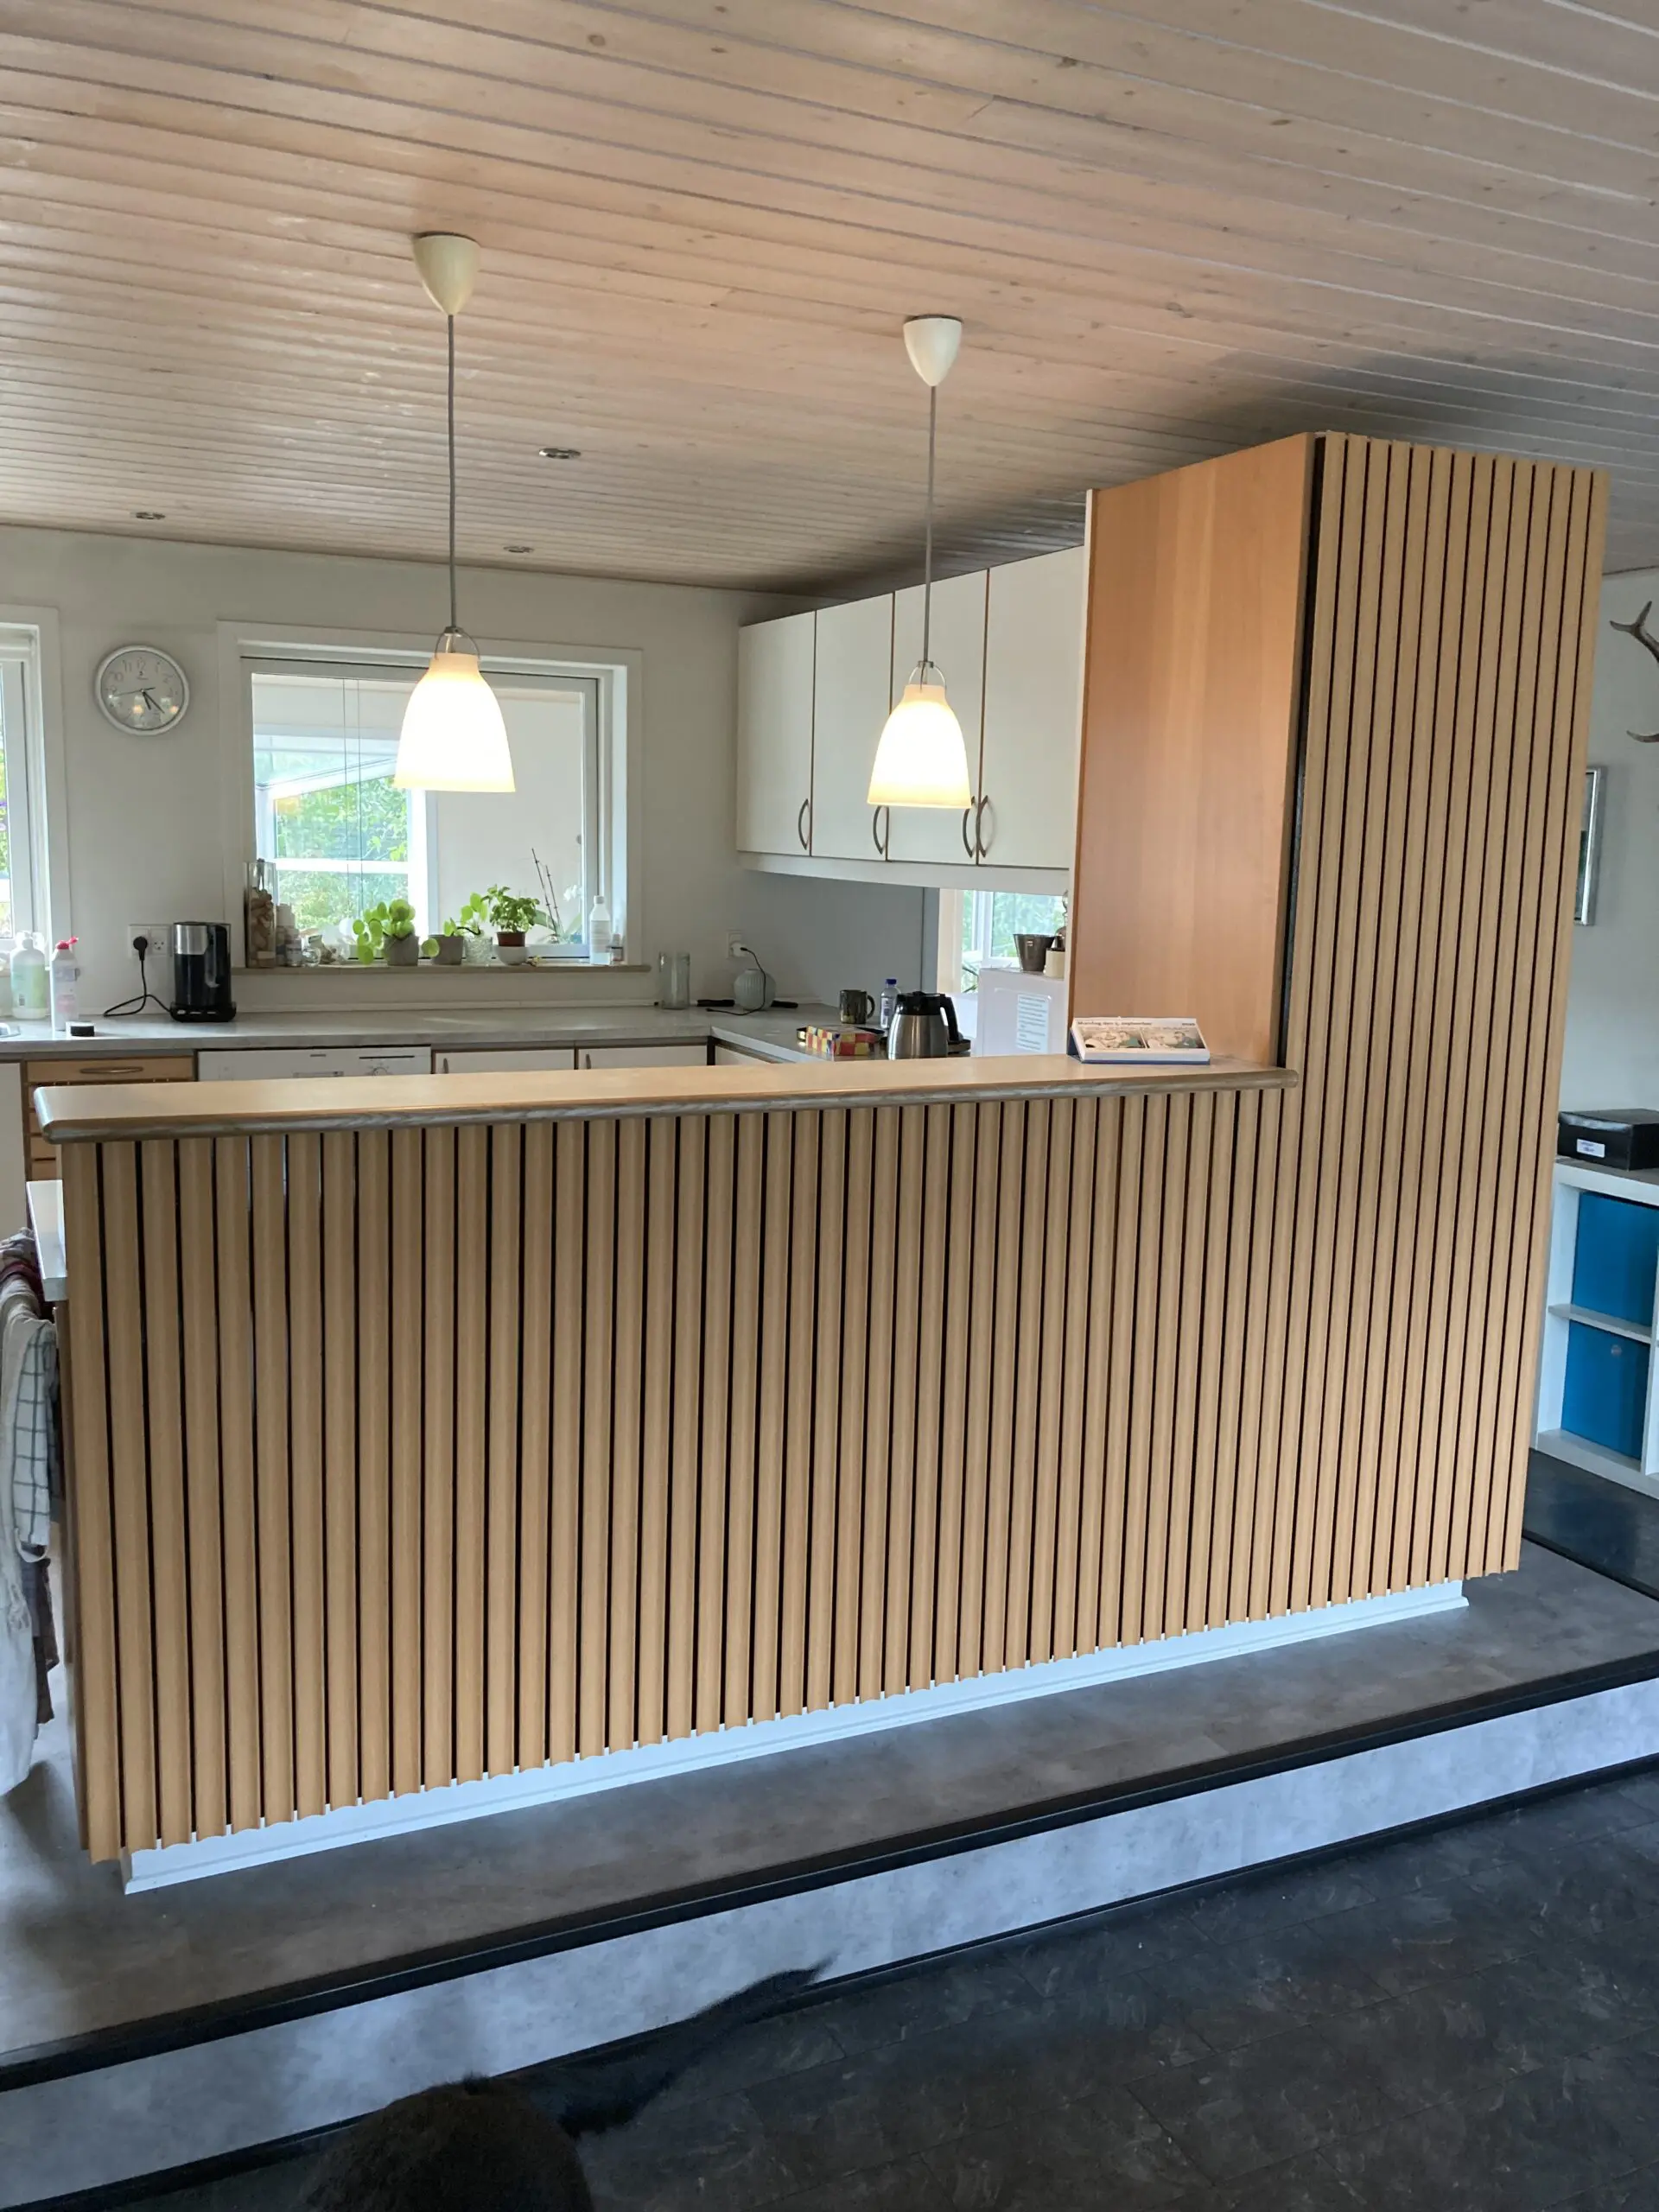
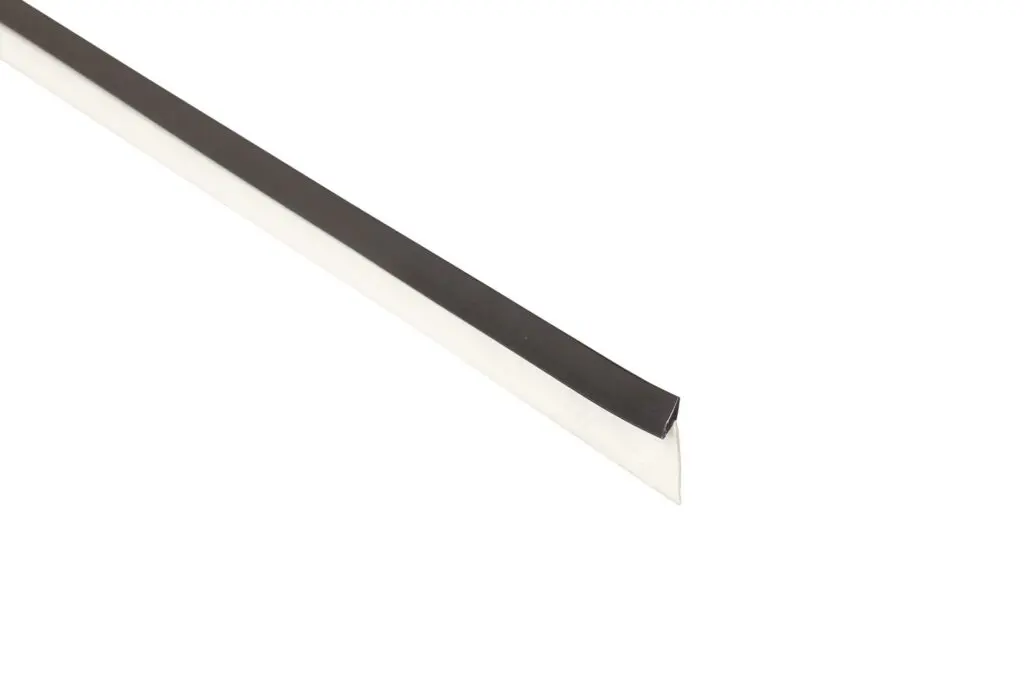
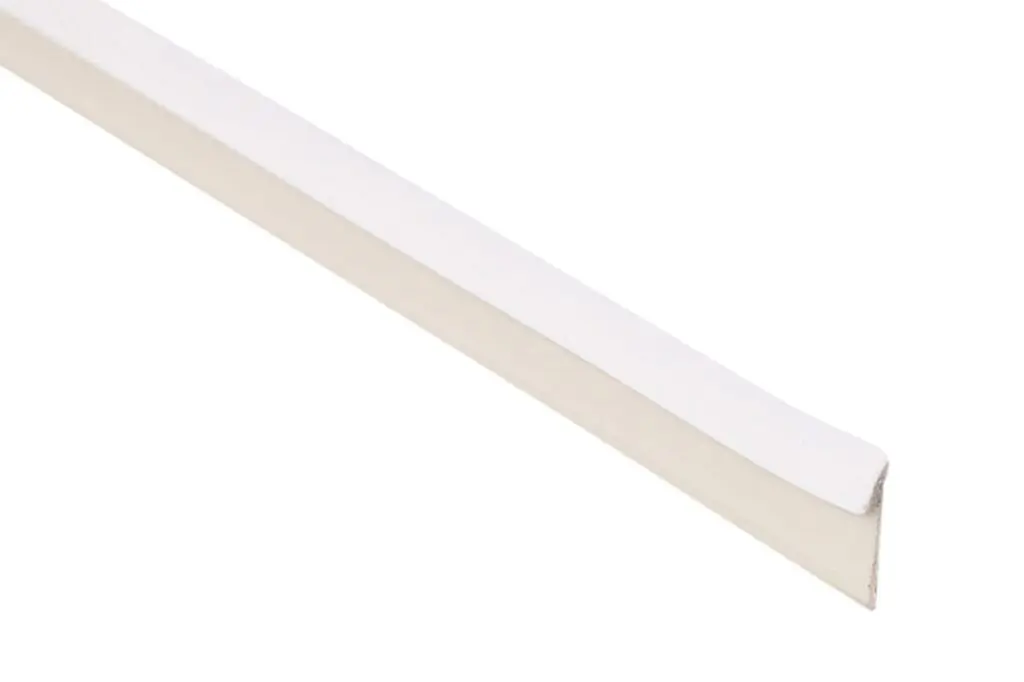
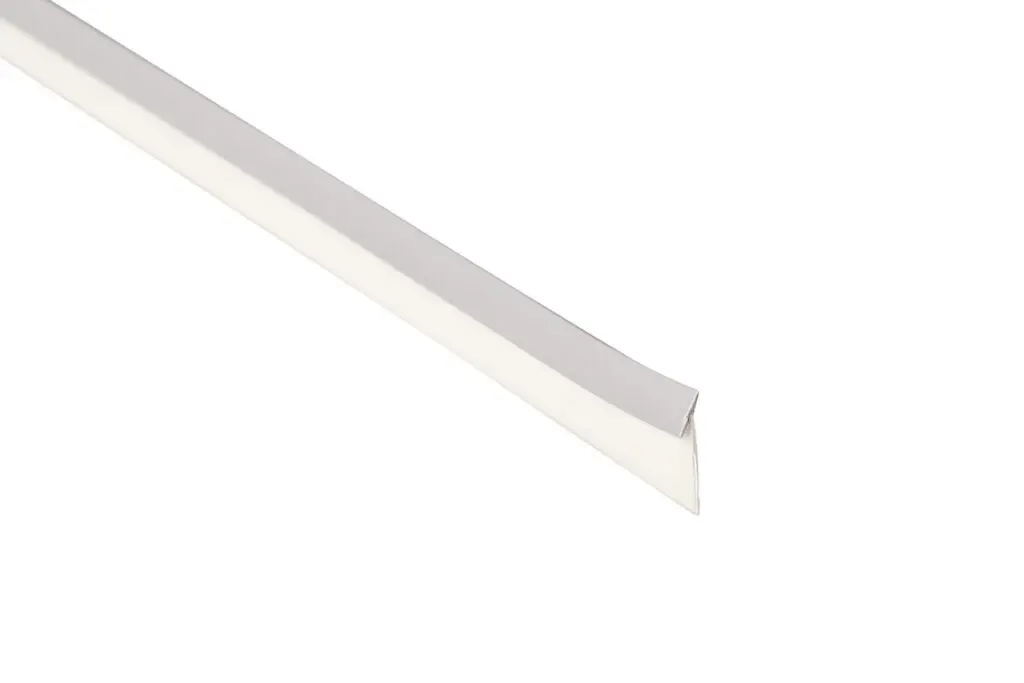
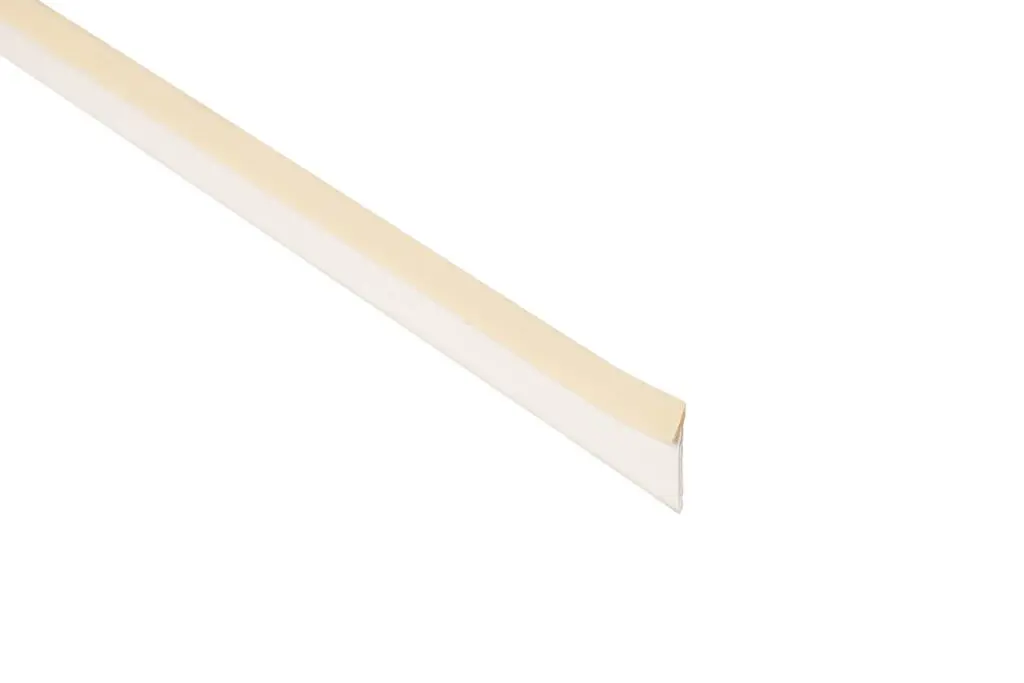
Much of the kitchen’s charm lies in its exposed surfaces, such as the splashback. Ole decided to transform his kitchen by adding a new splashback using Primo’s scotia mouldings (variant 5079). These gave the kitchen a modern and stylish look, reminiscent of the popular acoustic panels.
How to get a ‘new’ kitchen in 3 steps
Would you like to do something similar? Here are three simple steps to upgrade your kitchen:
1. Measuring and spacers Start by measuring the area you want to cover. This ensures you have the right length of mouldings and the correct spacing between them. Once you know the height and width of the surface, as well as the width of the moulding, you can work out how many profiles you’ll need and how to position them. Use a spacer to ensure the gap between the strips is consistent during installation.
2. Covering the surface Choose the colour you want as the background between the scotia mouldings. Ole used black foil, which he applied to the entire back wall. You can also choose to use felt if you want a sound-absorbing effect, as seen on acoustic panels.
3. Fitting the recessed mouldings Finally, the mouldings need to be fitted. You can nail or screw them in place, but if you want to avoid visible holes, you can use silicone, mounting adhesive or double-sided tape. Ole chose tape and used a stronger adhesive at the ends for extra durability. Remember to clean the surface thoroughly before fitting, so that the adhesive bonds as effectively as possible.
With these simple steps, you can give your kitchen a modern and fresh look – without breaking the bank.
We’d love to see the results of your work! Share your photos with us and let’s inspire each other. If you have any questions, please feel free to contact me, Cathrine, at dkcdb@primo.com, and I’ll be happy to help you with your project.