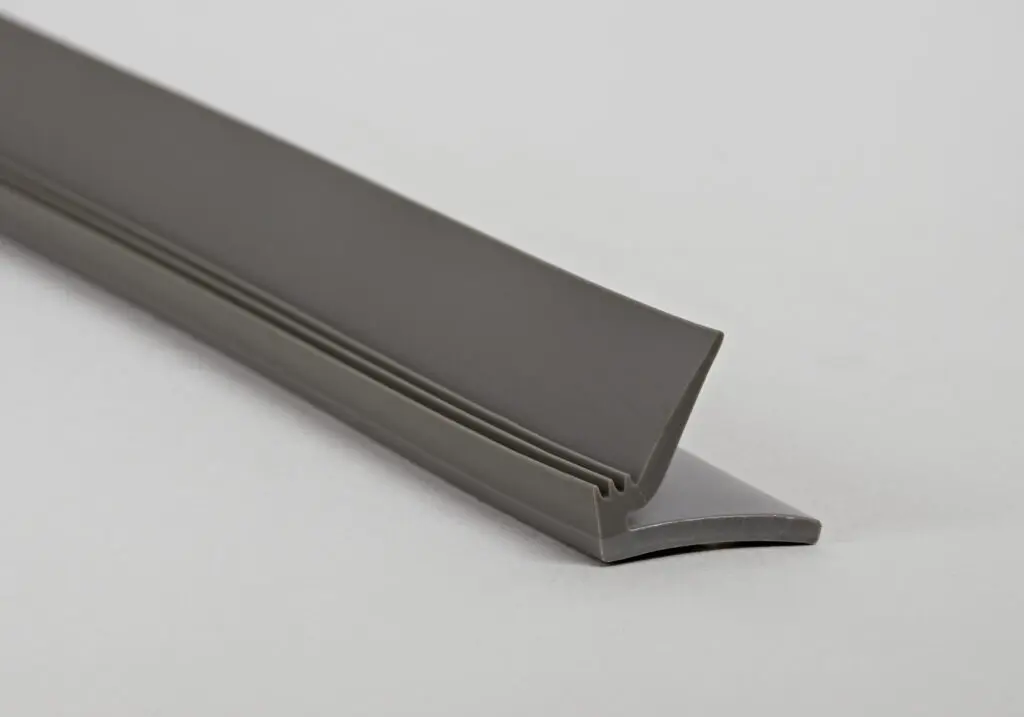
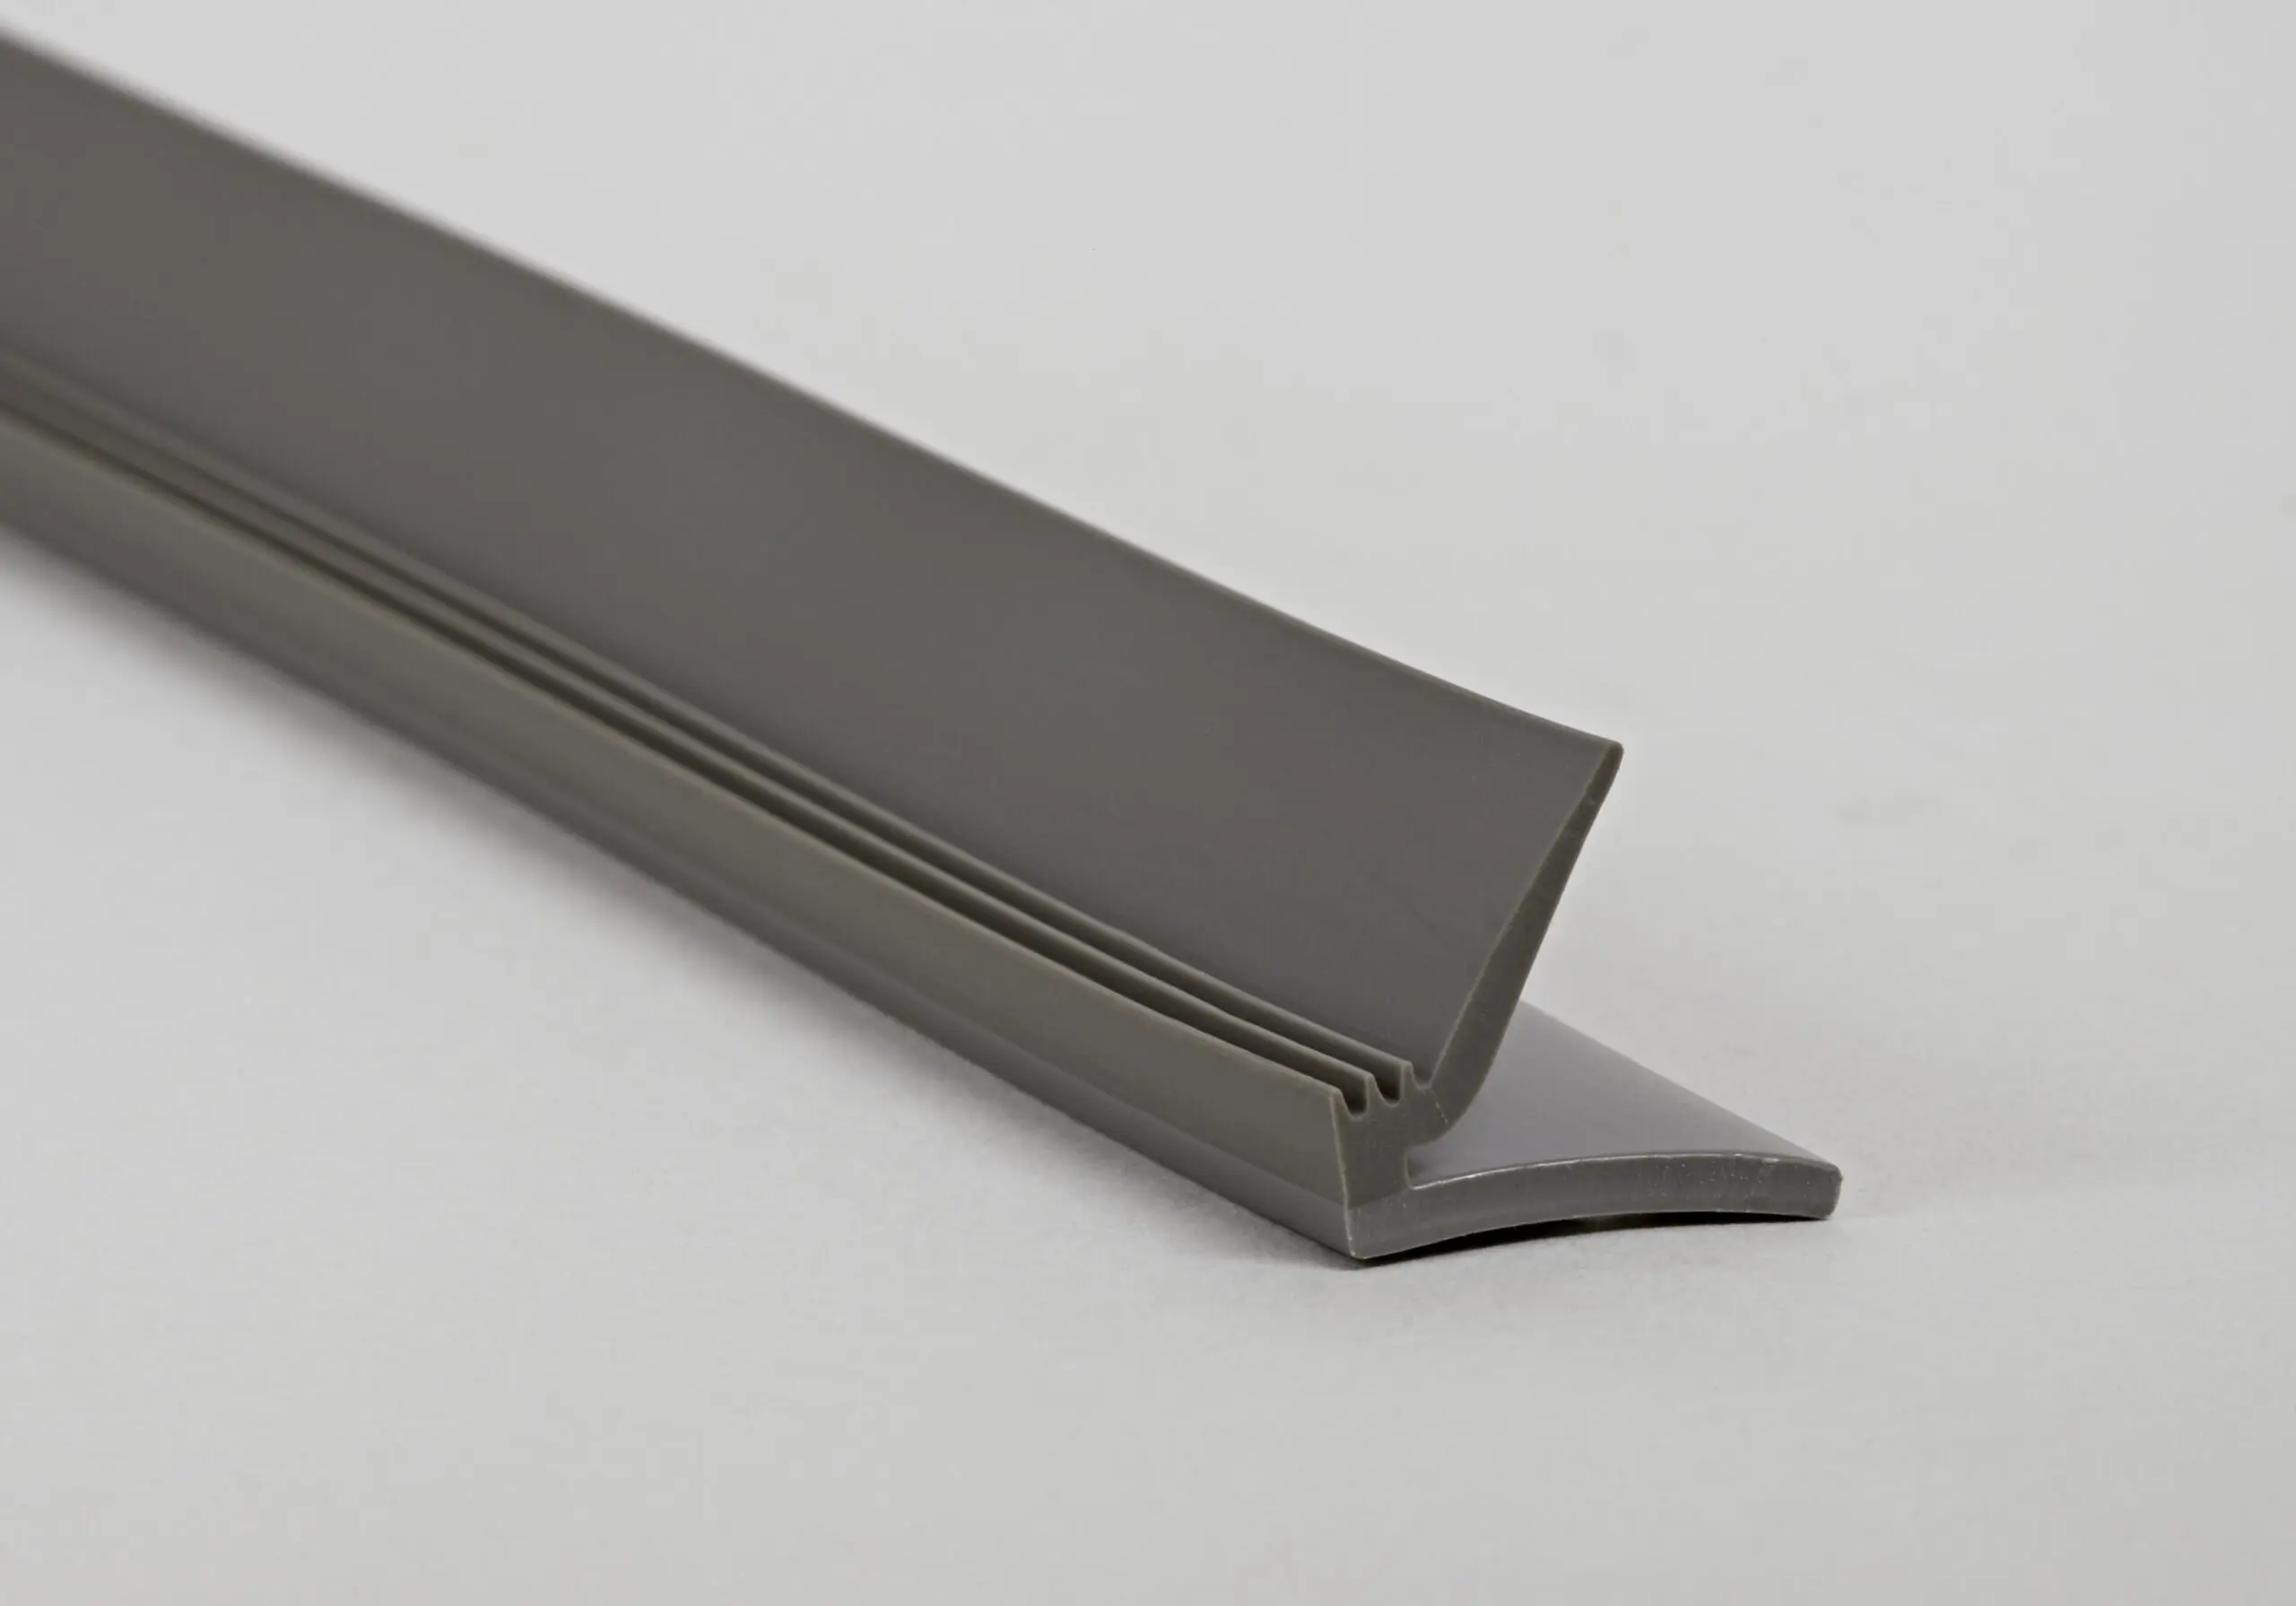
A properly installed trim strip ensures a neat finish and a tight seal around doors and windows. The trim is easy to work with and is installed directly using a staple gun. It is important that the surface is clean and dry, and that the trim is positioned precisely so that it does not interfere with the function of the door or window.
Follow the steps below for a good, long-lasting result:
1. Clean the surface.
Remove dirt and dust from the area where the trim will be installed so that it fits properly.
2. Measure the length.
Use a tape measure to determine the exact length you’ll need.
3. Cut to
size. Cut the trim strip with trim shears. Cut the corners at a 45° bevel. Position the trim correctly—close to the surface, but without obstructing the operation of the door or window.
4. Secure the trim
Use a staple gun to secure the trim. Staple as needed, and make sure the trim is tight and straight. If the surface is uneven, it’s a good idea to use more staples.
5. Finish with a check .
Check that the trim fits snugly without blocking the opening/closing mechanism by closing the door or window.