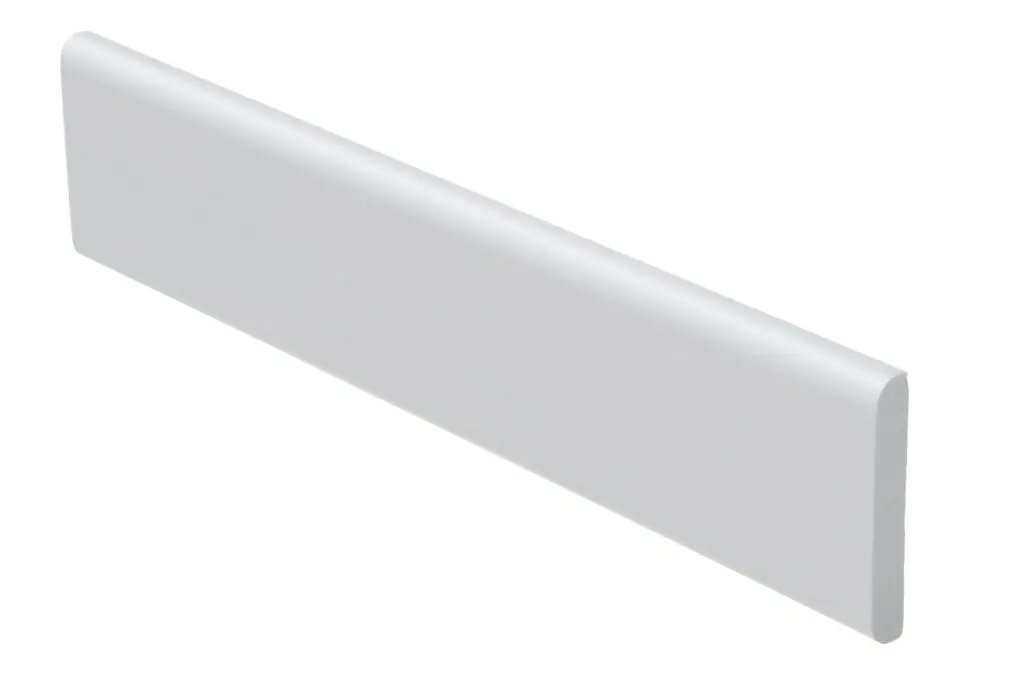
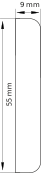
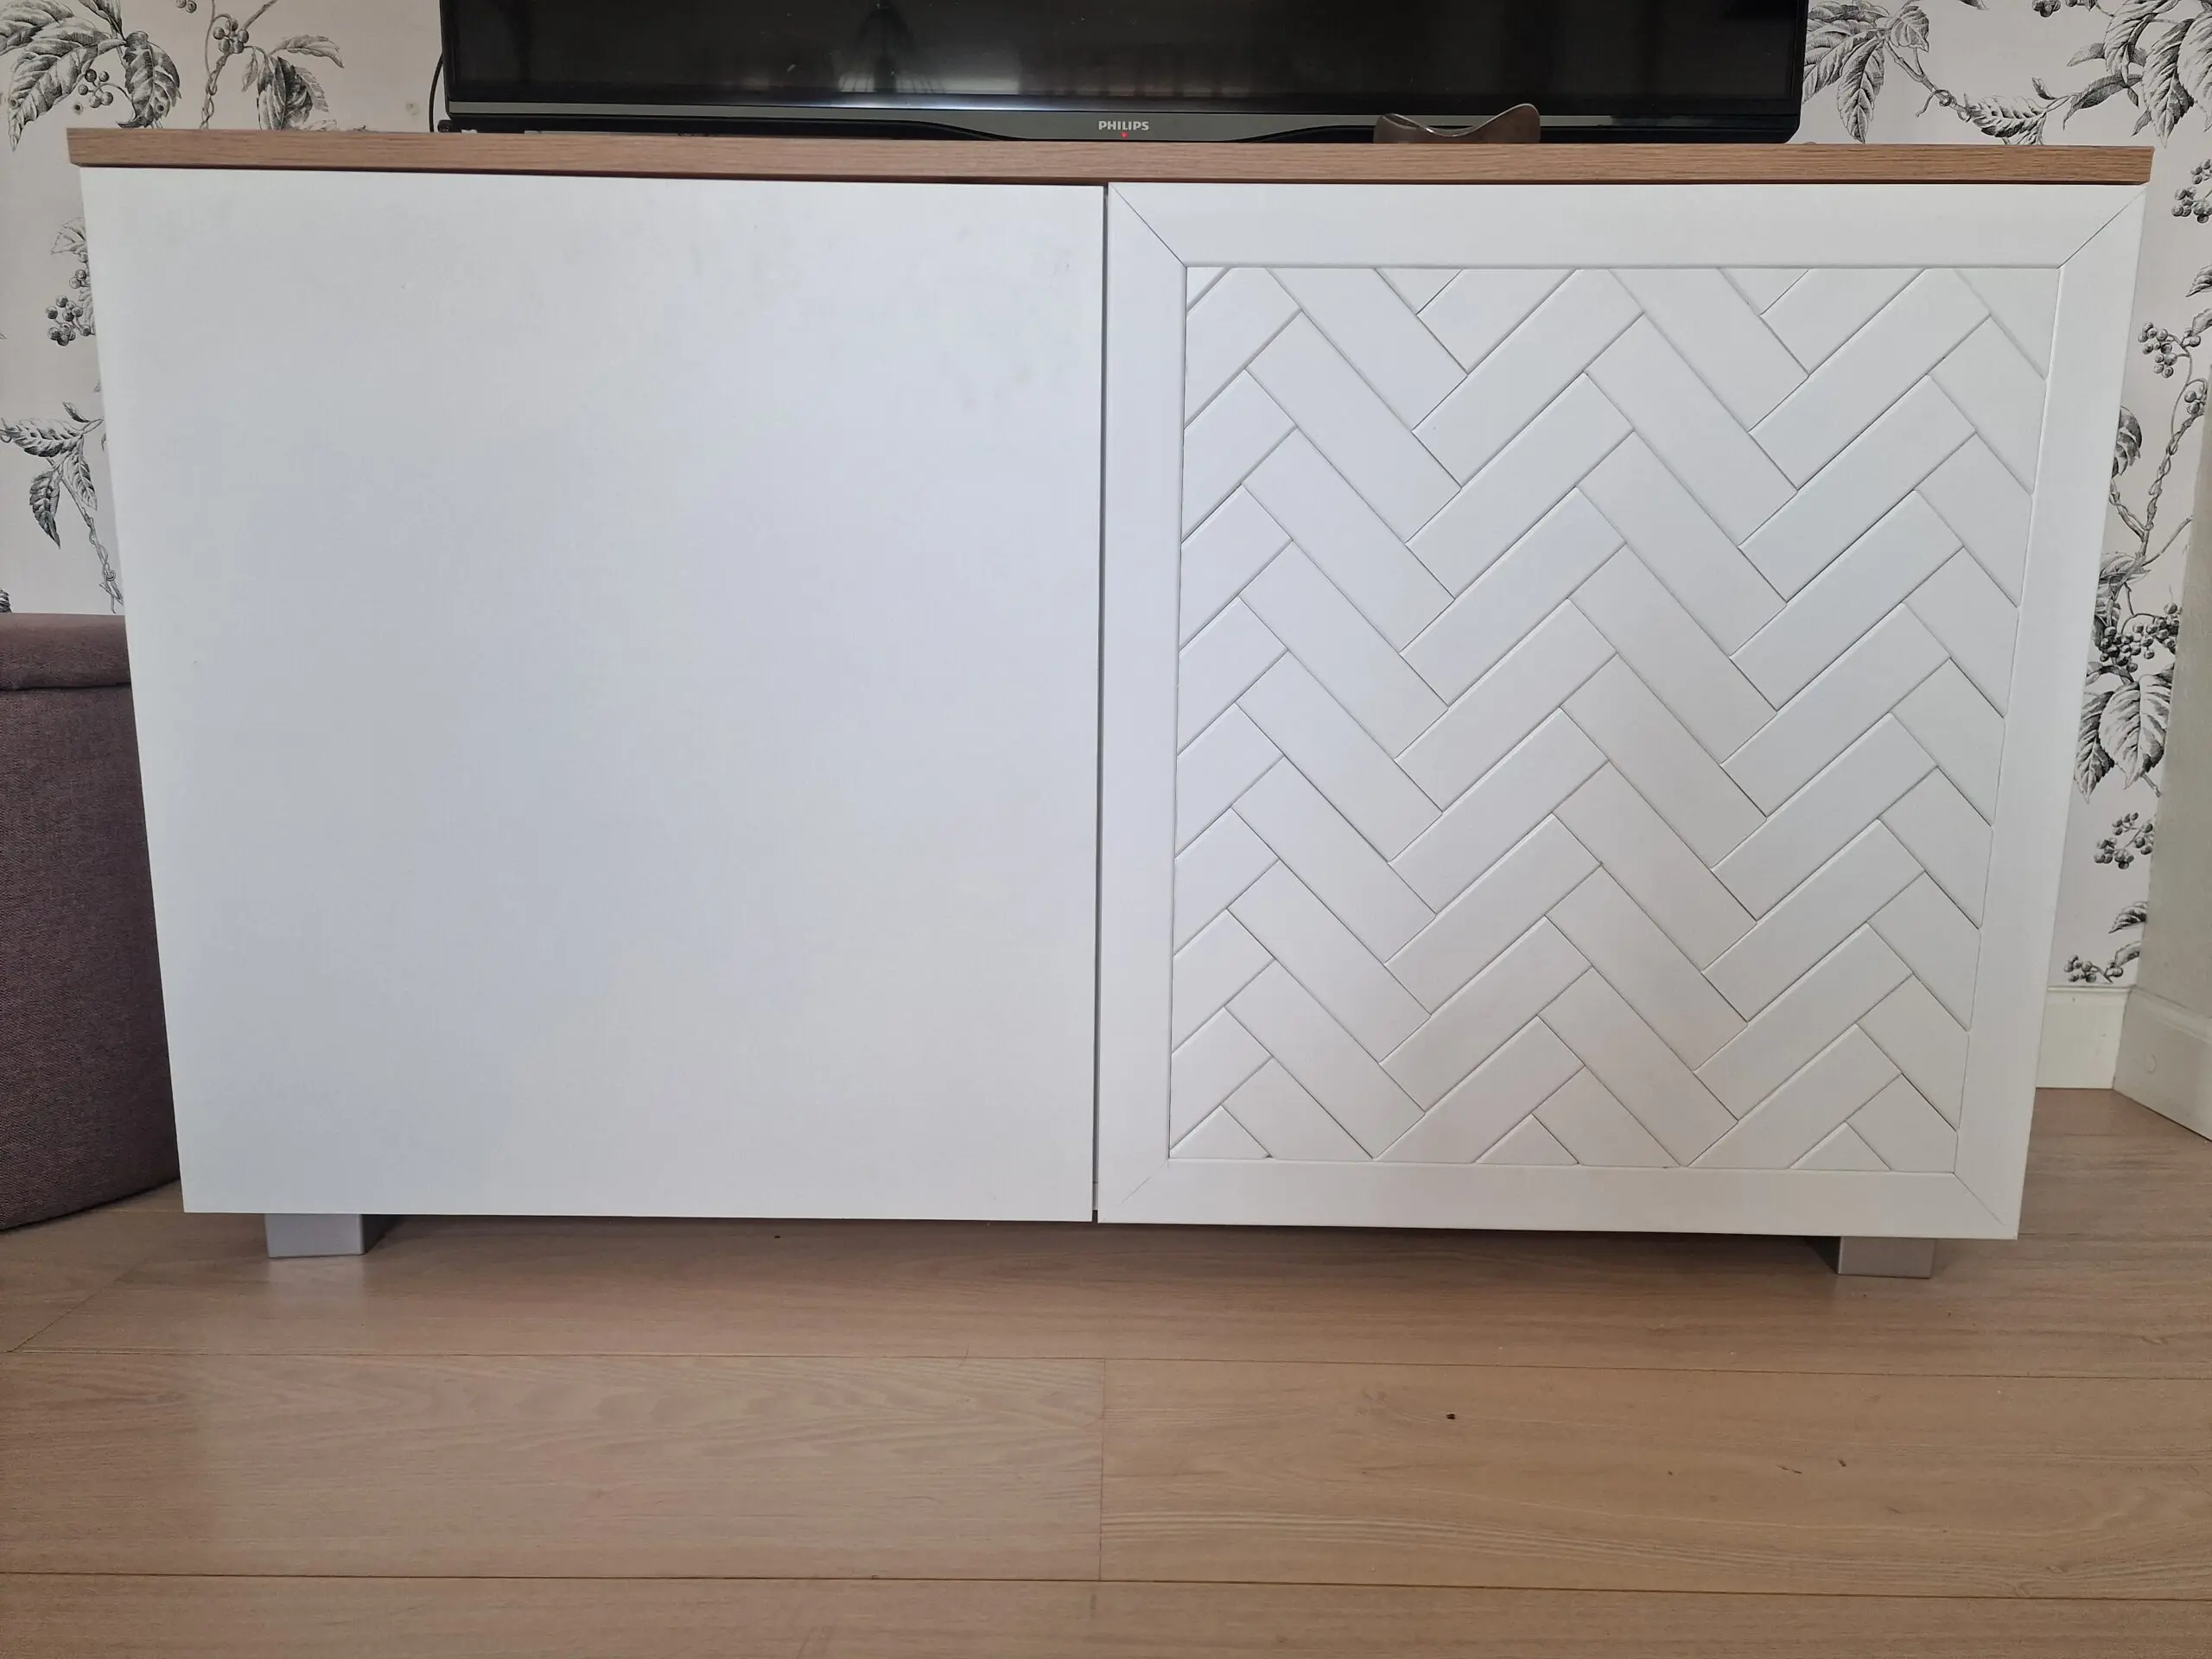
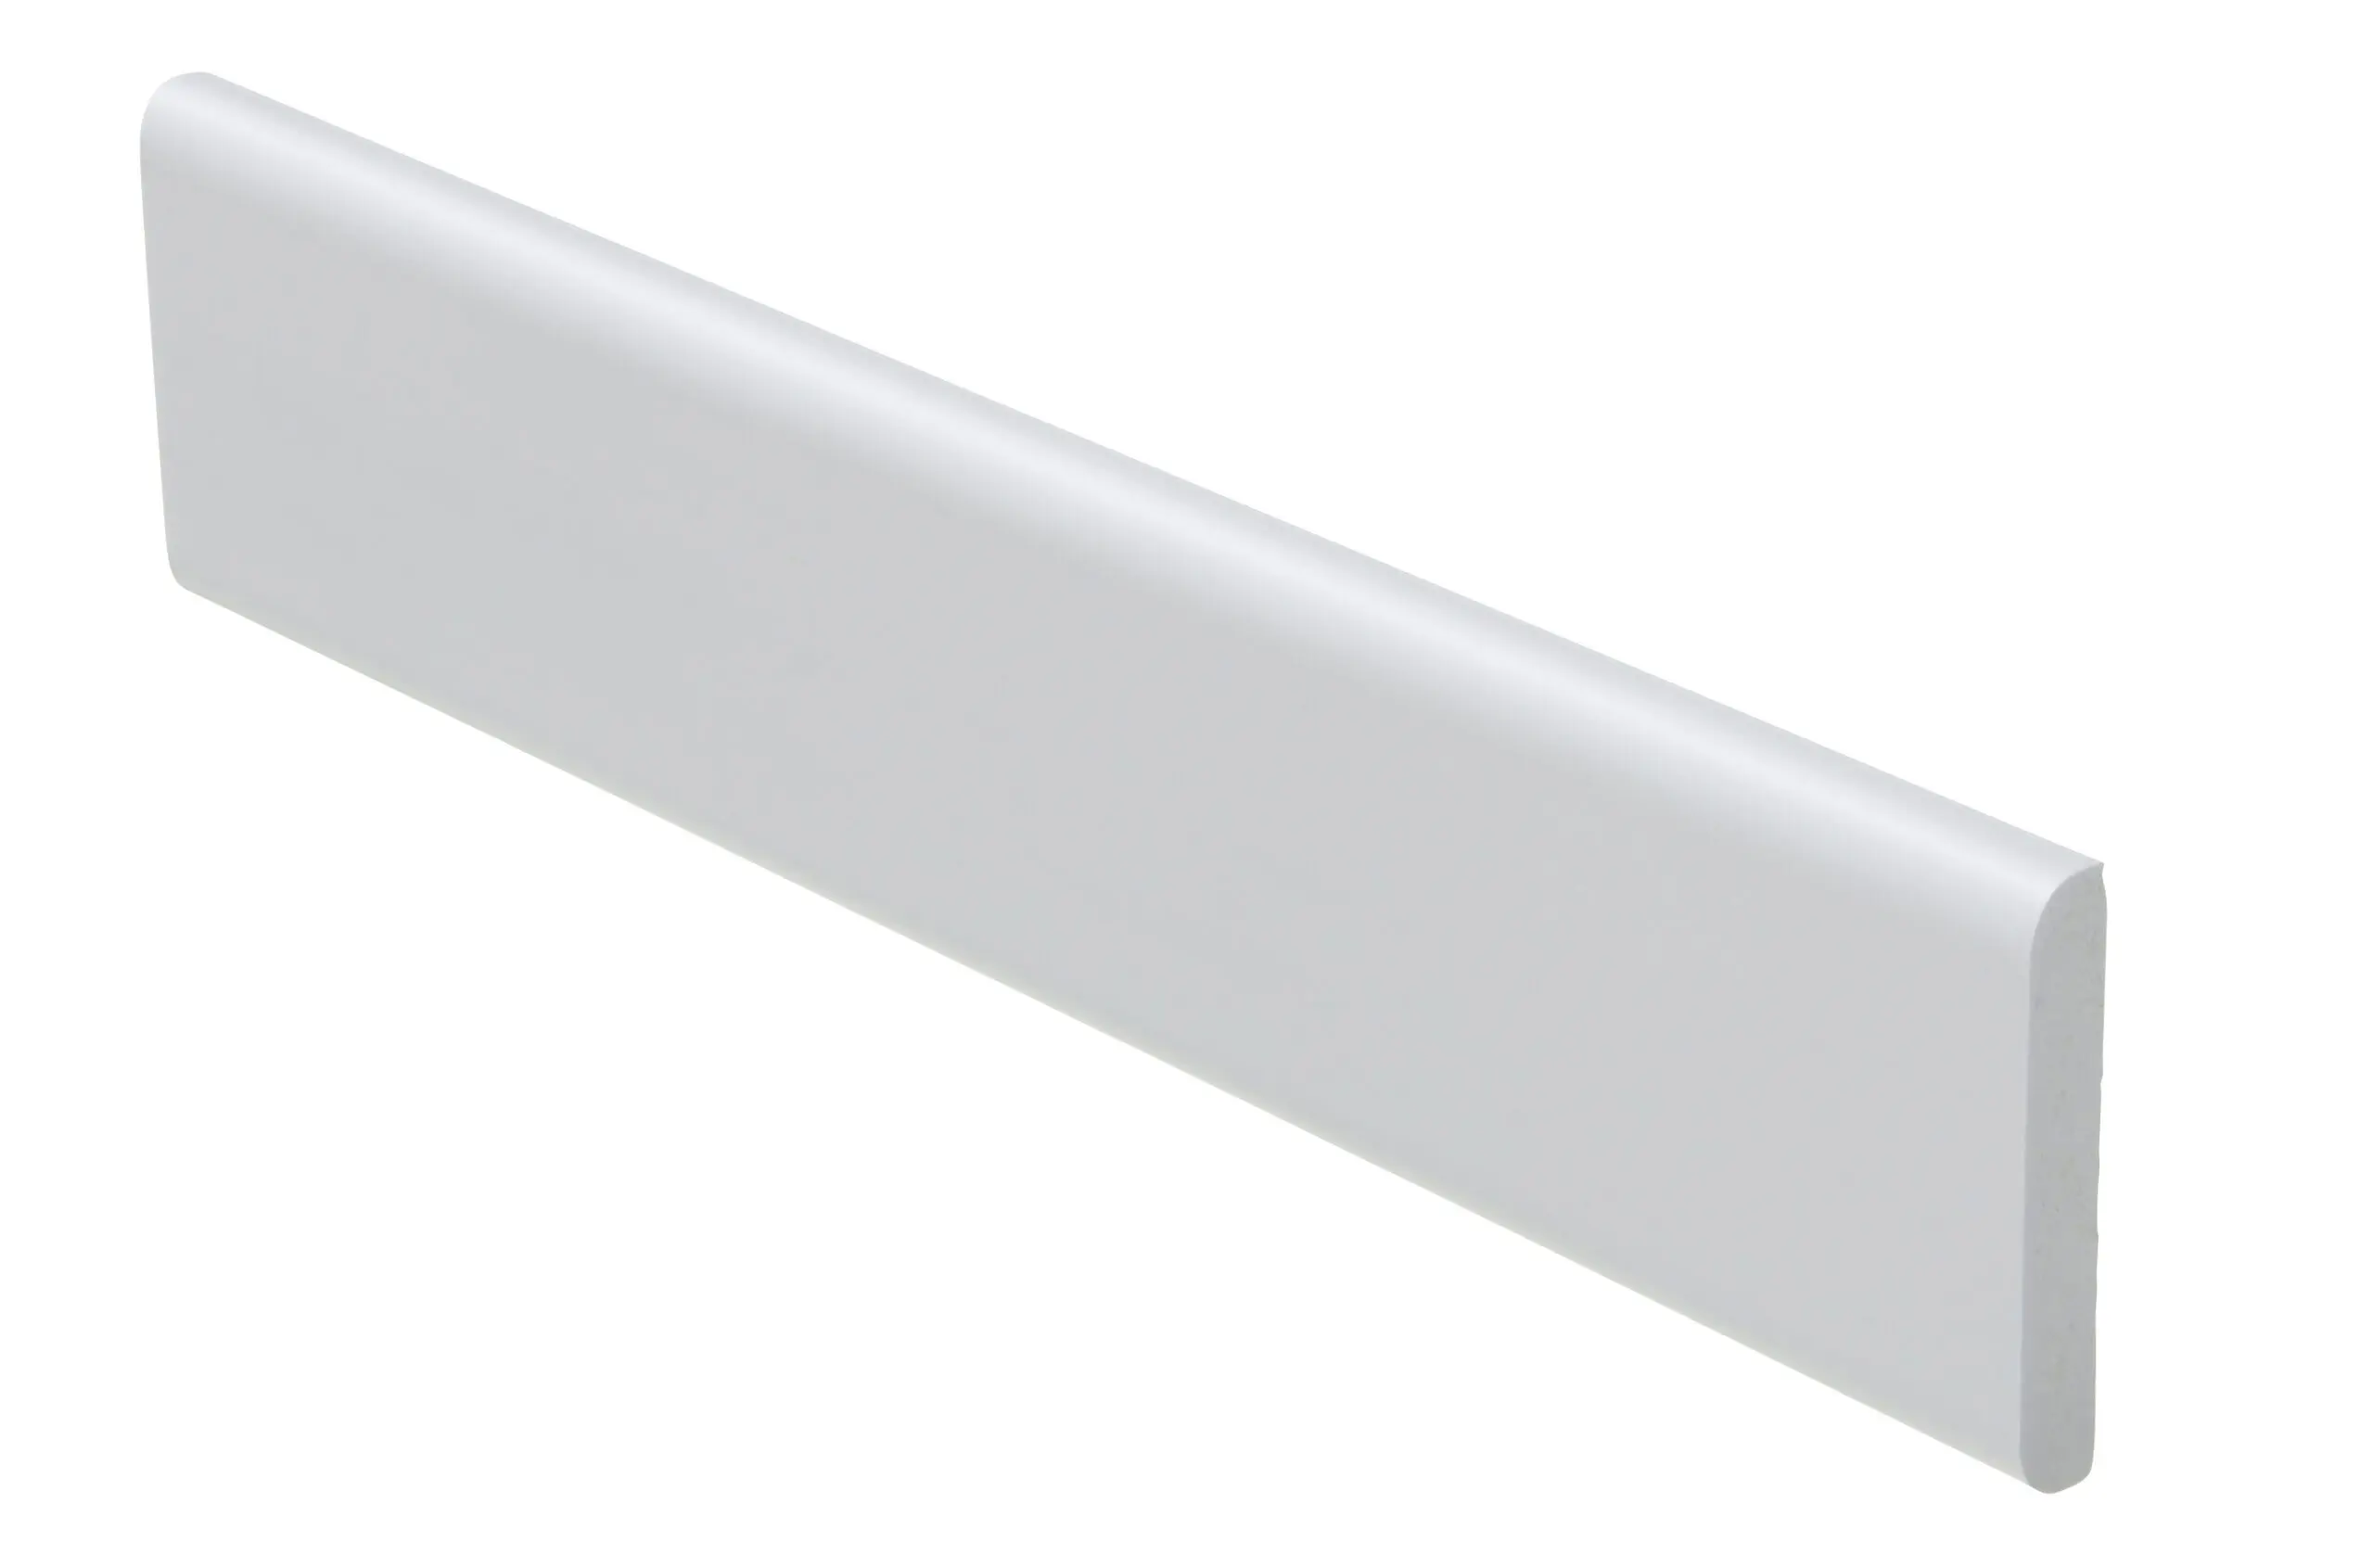
With PRIMO wall moldings, you get a product that is both functional and attractive. They are used to create neat transitions and finishes on walls—around doors, windows, and ceiling hatches—and can also be used creatively to divide or decorate wall surfaces.
Their flexibility makes them easy to customize, even if the wall is uneven or has curved surfaces. If necessary, use a heat gun to bend the trim so it follows the shape of the wall.
You can choose between models with or without adhesive backing—perfect for both quick installations and more permanent solutions.
This is an ideal molding for both renovation and new construction projects where finish and durability are top priorities.
A PRIMO wall trim can be installed using nails, screws, or mounting adhesive—so simply choose the method that works best for you.
For best results, we always recommend degreasing the surface where the trim will be installed.
When installing with nails or screws, we recommend fastening the trim at 30–50 cm intervals, depending on the mounting surface.
Here’s how to install the molding:
1. Use a fine-toothed saw to cut the molding to the desired length.
2. Clean the wall of dirt and debris for the best durability
. 3. Choose an installation method: nails/screws or mounting adhesive
. 4. Position the molding on the wall where you want it.
5. Secure the molding at approximately 30–50 cm intervals. Or apply mounting adhesive to the molding and press it firmly against the surface.